Last Updated on June 1, 2023
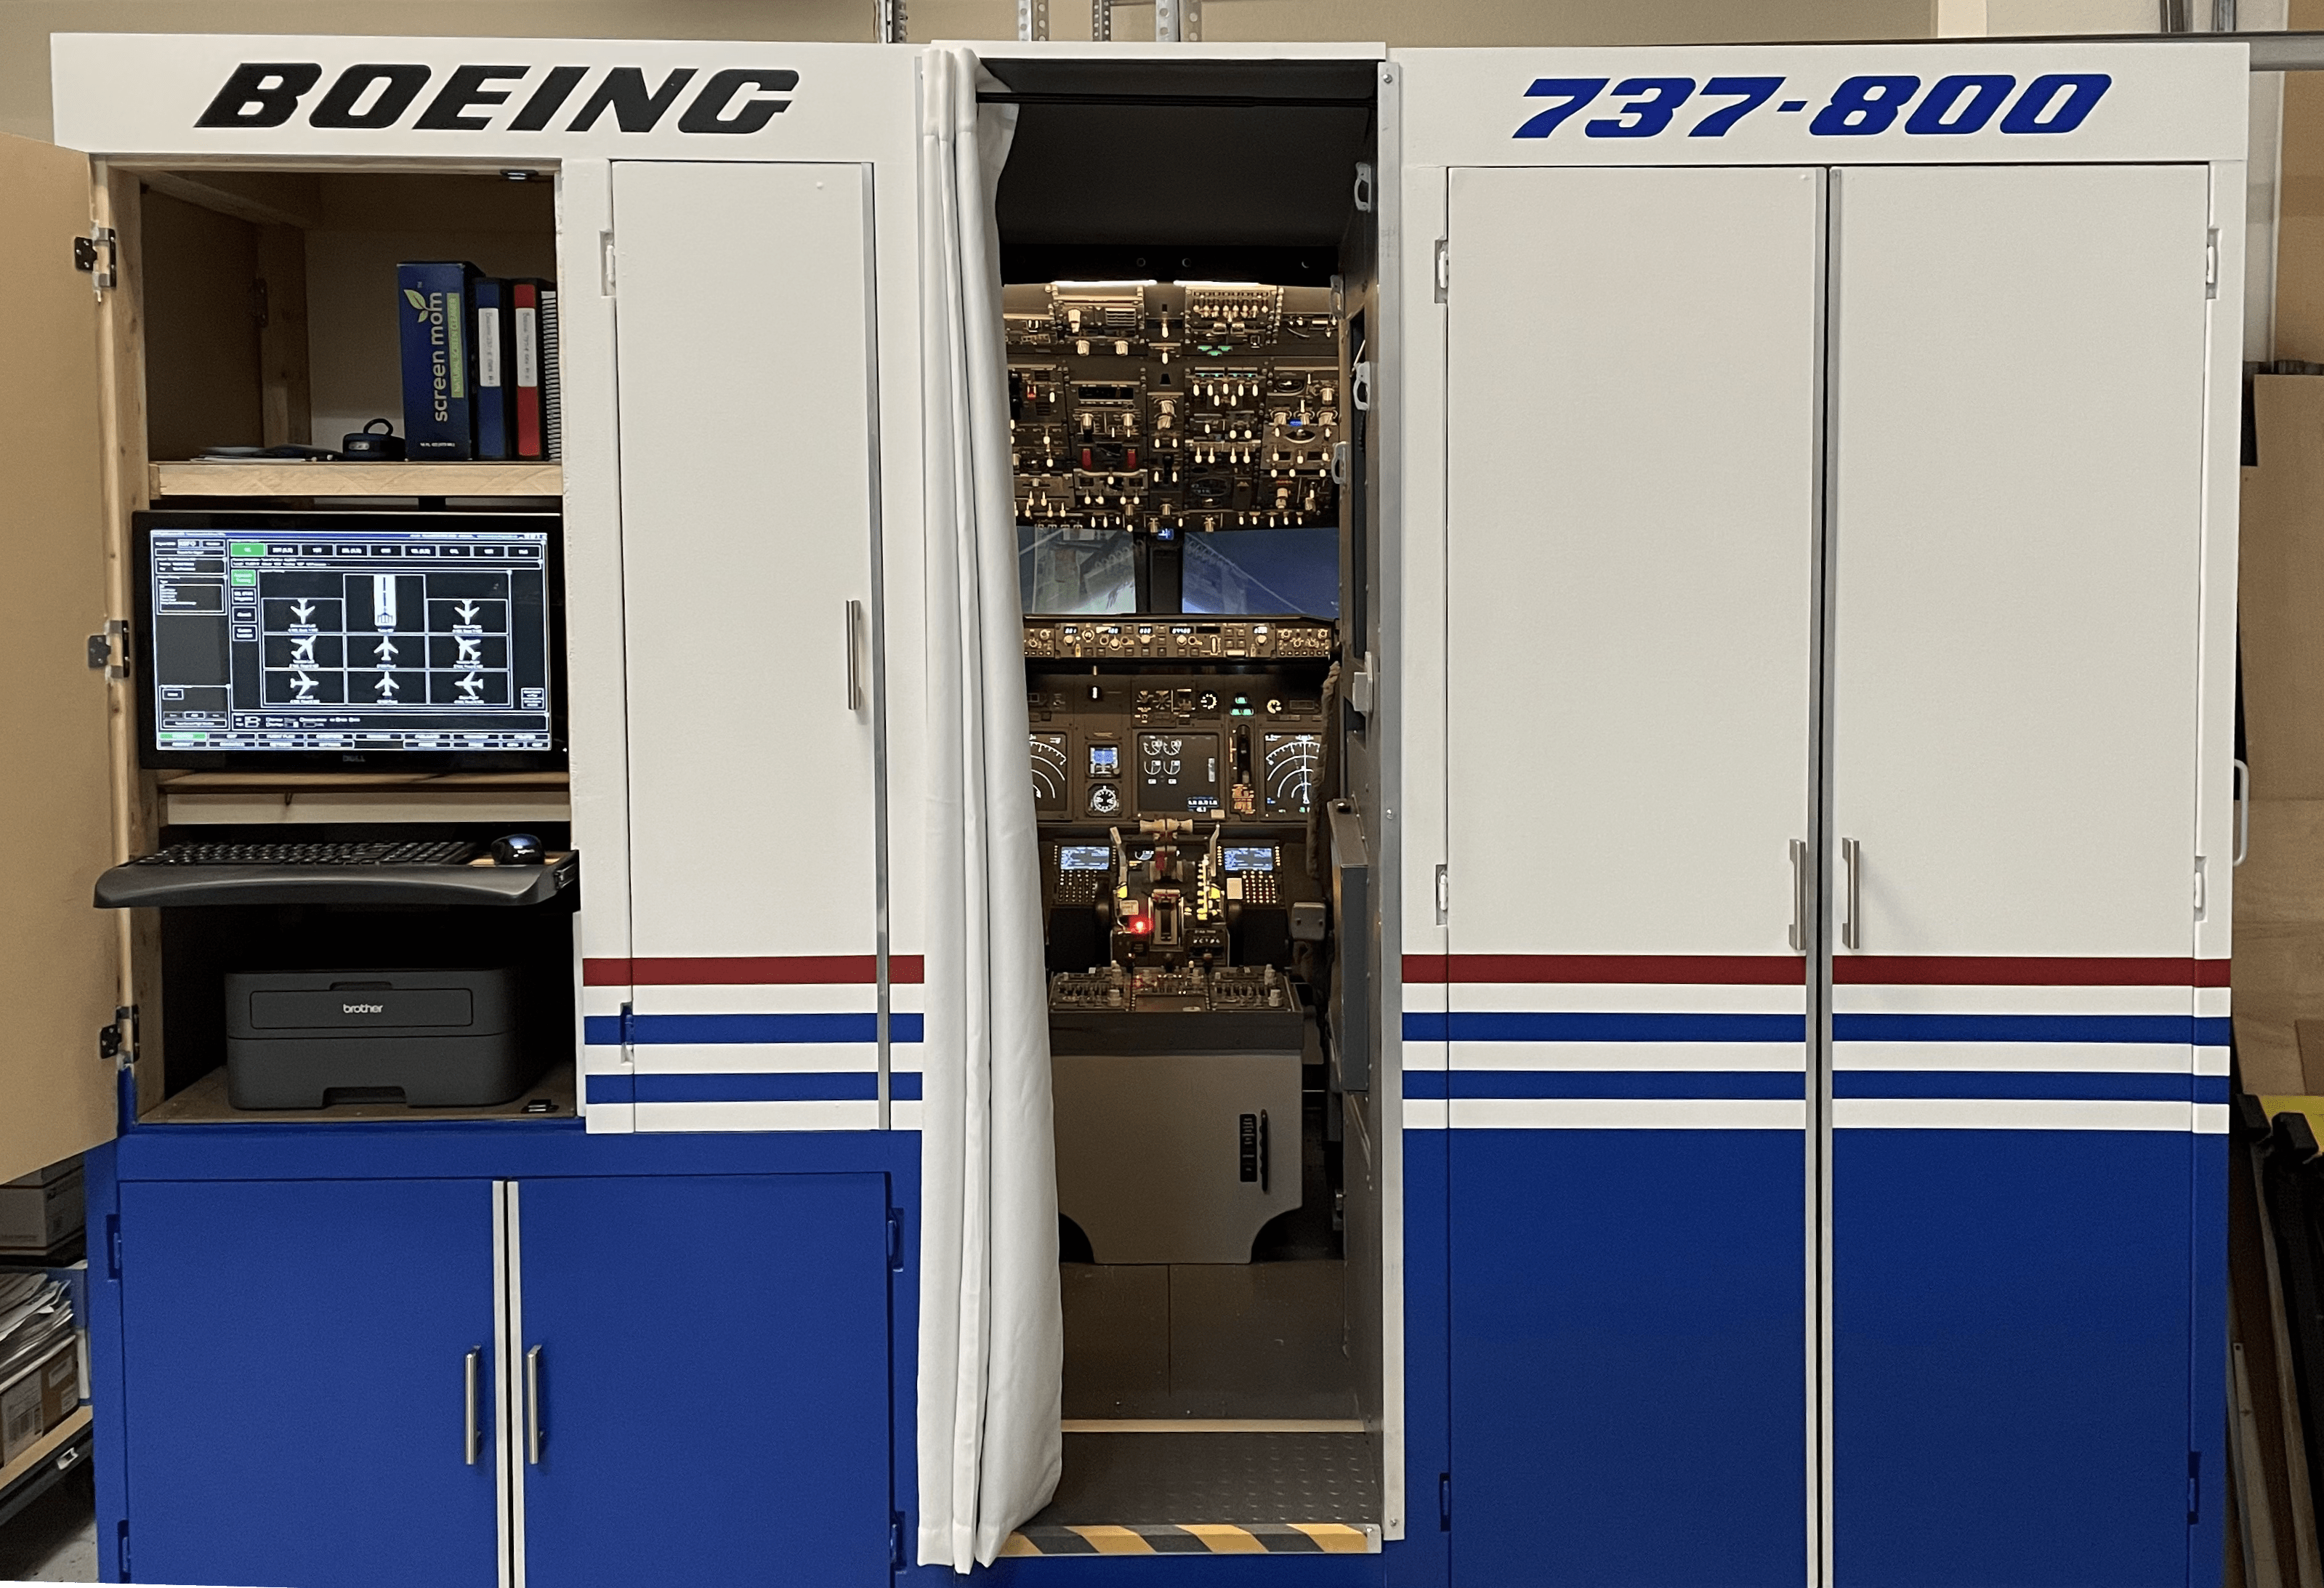
It has been a while since my last update. While it may seem things have been pretty quiet, I’ve made quite a bit of progress over the months since then and thought I’d share.
Bulkhead Progress
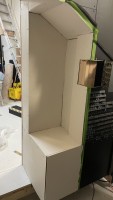
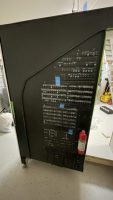
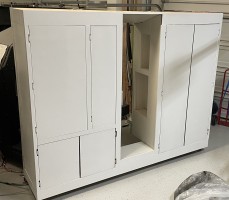
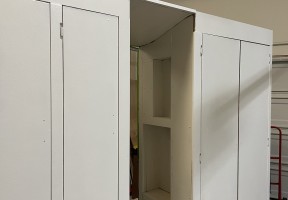
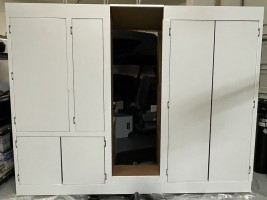
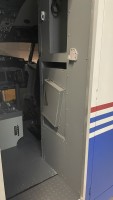
The rear bulkhead has been a pretty big project these past months, but it’s mostly complete (for now). I have been focused on detail work like sanding, paint, jump seats, trim work, etc.
Paint Scheme
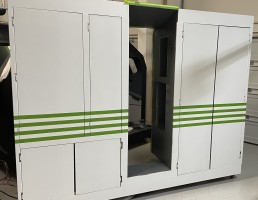
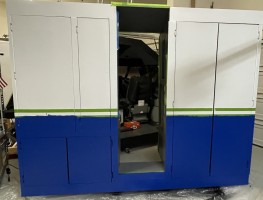
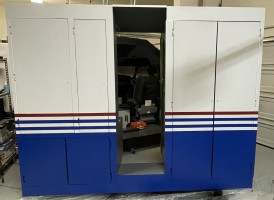
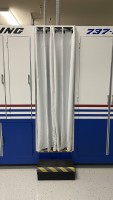
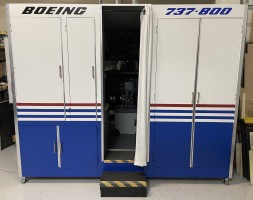
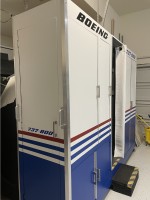
I chose to go with the old Boeing house color scheme of red, white and blue. I thought about using the current blue and white flowing look, but painting would have been more challenging, and I like the throwback to the more classic era paint.

Which Paint Colors to Use?
Finding the right paint colors was a slight challenge. It seems U.S. home paint suppliers (like Sherwin Williams, Home Depot and Lowes) don’t have the ability to convert RGB, CMYK, HEX, or Pantone values to custom paint colors, so I had to look at their standard color cards and eyeball the approximate right color tone. Fortunately, I was able to get small samples for minimal cost to test and as luck would have it, I was very close the first time.
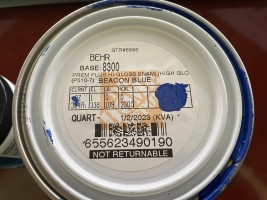
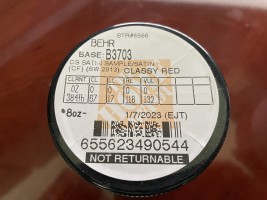
I went with BEHR “Beacon Blue” and BEHR “Classy Red”. I used high-gloss interior enamel paint, but as I later learned, I should have used a Satin finish. Satin tends to look more uniform and hides imperfections a bit more than gloss. Gloss coat can be tricky, especially if it isn’t sprayed on, as the gloss can appear uneven at certain angles. The good thing is you can always go over it with a Satin clear coat, but I was happy enough with how it turned out that I let it be.
Painting Process
I first filled any holes and gaps with wood filler then sanded them smooth.
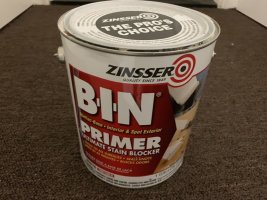
Using a tack cloth, I made sure to wipe away any dust and debris before painting. I then used a roller and standard bristle brush to prime the entire bulkhead with Zinsser BIN wood primer. It’s one of the best wood primers and does a great job of sealing and priming all wood for paint.
In case you’re wondering: I did debate spraying the whole thing with an airless spray gun for a nice even finish, but due to the confines of my garage, concerns about over spray, and difficulty getting the bulkhead to a good outdoor space, a roller brush turned out to be easier to work with.
Next, I rolled-on many coats of gloss white interior paint for the base coat, filling and sanding where needed in-between coats. White shows what’s underneath pretty easily, so it took around five or six coats to finally make the color nice and solid.
Once the base white coat was dry, I masked off the red and blue areas using a laser level to make sure the lines were straight, then added the color paint with a roller brush, again using several coats to make sure the color was nice and solid.
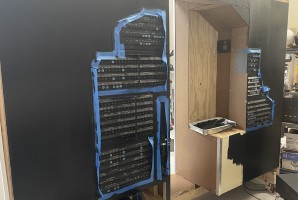
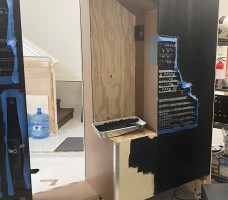
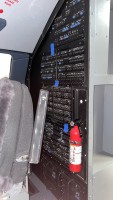
For the cockpit-facing side, I painted the circuit breaker area a flat black and the interior walls Iron Gray, a custom mix I purchased by bringing in an a piece of OEM gray material and having the paint place paint-match it.
Additional Touches
Now that the core bulkhead was done, it was time to add some nice details.
I installed some 1″ L-bracket aluminum on all the outer corners, and 0.5″ L-bracket to other areas to prevent edge damage and add a “polished” look. To complement the look and clean up the cabinet door edges, I installed some aluminum U-channel along the edges. Lastly, I added some L-bracket aluminum to the side of the second observer jump seat (behind the captain seat) to keep the bottom seat cushion in place once I get around to making the cushions.
To make the cabinet doors easier to open, I added some nice modern-looking door handles, and also some pull handles to the sides of the bulkhead so I have something to grab when I have to move the bulkhead around.
A couple of other nice touches I added were:
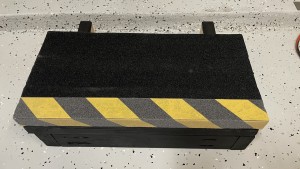
- Black, non-slip tape on the step, along with some caution tape to highlight the trip hazards; a blackout curtain to “close” the entry way until I can make a custom door; a 3D printed dome light (unfinished)
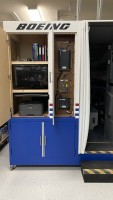
- OEM Grimes lights (not yet functional)
- Non-OEM but functional fire extinguisher (Home Depot)
- OEM first-aid kit
- OEM flashlights
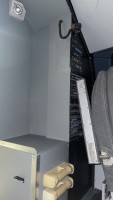
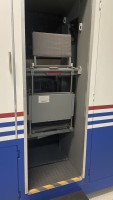
- OEM first-observer jump seat. Yes, it does fold down and the seat back locks into place.
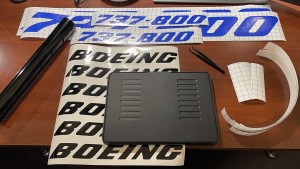
- Custom cut Vinyl “Boeing 737-800” labels
- Rubber “coin” mat for the entry-way
- Removable aluminum T-channel “gap step” for the floor gap between the bulkhead and main simulator
So What’s left?
There’s still quite a few things left to add/finish. Such as:
- Custom seat cushions for the second observer seat
- Oxygen panels for the observer seats
- Data loader panel and misc detail in the “cubby” holes of the retractable jump seat
- Finish painting and make operational the captain side dome light
- Get the OEM Grimes lights all functional
- Add rear-facing Circuit Breaker (CB) panel lights to the sidewalls
- Miscellaneous detail around the CB panels
- Add some shelving to the
That’s it for the moment. I still have a lot left to post when I have time including aligning my collimated visuals (a real headache!), my multi-channel PC setup, and much more!





Hi Kevin, there shouldn't be a reason why you can't daisy chain indicators so long as your power supply has…