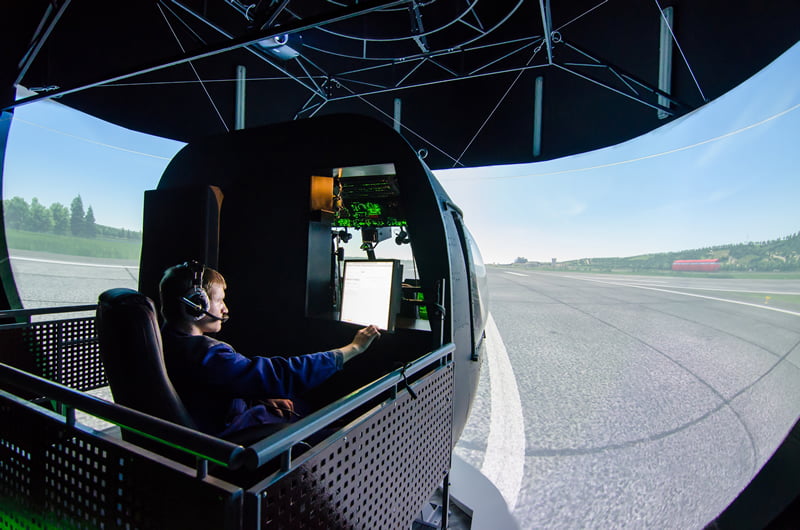
This is probably THE most asked question and the answer is… somewhere between $1 and a million.
Joking aside, most simmers are hesitant to answer how much their full-size home-built flight simulator cost because:
1) It’s always more than they want to admit
2) They don’t want to be reminded of how much they’ve spent
3) They don’t want to be judged for how much they spent
It’s like asking “What did you pay for your Ferrari?”
The truth is, it really depends how far you want to take it. If you’re thinking about building a full-sized home flight simulator cockpit this page aims to help you better gauge what you can expect to pay based on your budget and requirements.
Building a simulator at home is a serious investment of time and money. There’s a lot to think about before you start your journey.
DISCLAIMER: I am not paid for any products or recommendations I discuss here, nor is there any hidden
sponsorship or endorsement.  None of the links are affiliate links.  My intent is to provide you with
information and honest opinions as if we were friends and you asked me how to get started.

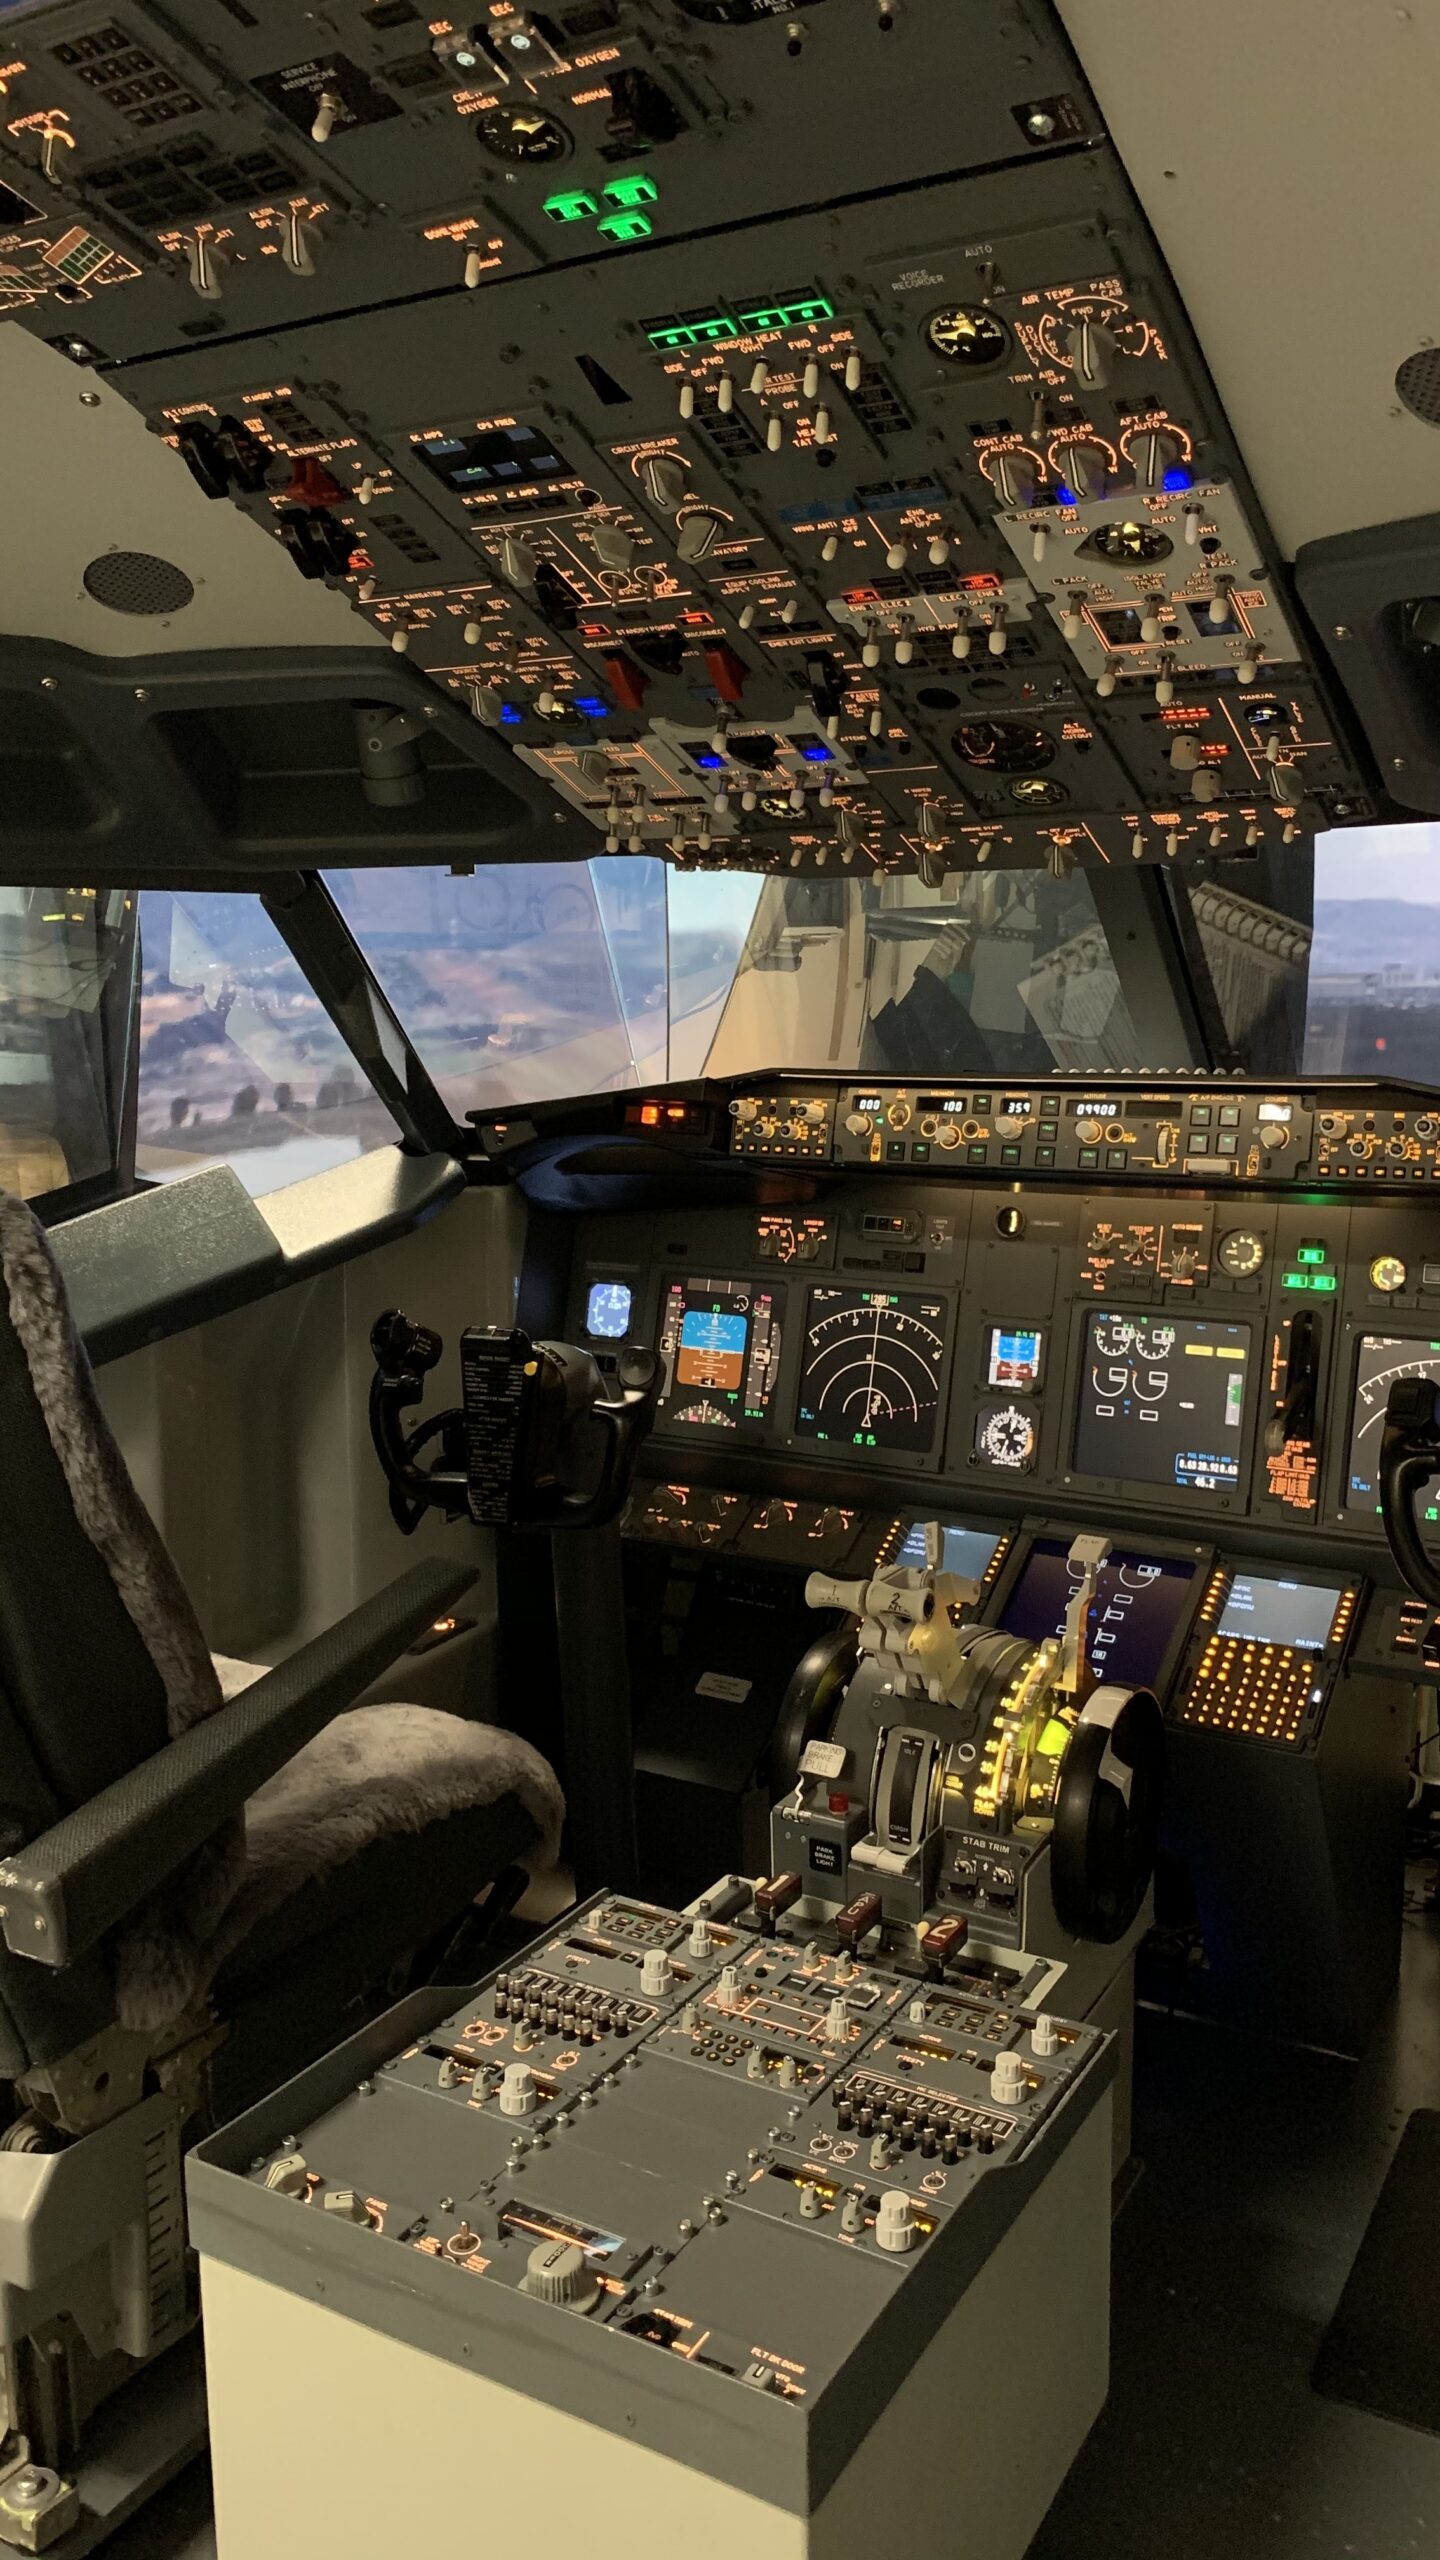
The costs below are only rough estimates based on personal experience building my own home-based Boeing
737NG simulator.  Other airliner simulators should be fairly similar.  Obviously, larger cockpits like the Boeing 777 will likely cost more than, say, a smaller cockpit like a Regional Jet due to the complexity
and sheer size.

Prices listed here will also fluctuate based on market demand, the aircraft you choose, and the level of
fidelity you are after. As always, please do your own research.

All dollar amounts discussed are in USD.
Table of contents
Introduction
If you’re looking to start building a home-based Do-It-Yourself (DIY) cockpit simulator, that is absolutely fantastic! I welcome you to this hobby with open arms and look forward to having you become part of this passionate, creative and supportive group of people!
Now is a really great time to get into flight simulation, whether it be just desktop simulation, or a full home cockpit simulator. We have more choices than ever today and new products are coming out regularly. This means you have a huge selection to pick from, whatever your budget and requirements. That’s a good thing for us!
Whichever path you choose, I hope this page will help prepare you for the costs, or at least get you thinking about whether you are ready to accept the challenge (queue Mission Impossible Theme).
Bottom Line Up Front (BLUF)
A full-sized, fully equipped home airliner flight simulator cockpit can easily run you $50-65K or more. Don’t let that scare you. Here’s why…
For most of us, building a home cockpit simulator is a marathon, not a sprint. Start small and work your way up. I have been building my Boeing 737 home cockpit simulator over many years as my time and budget have allowed. That has helped to spread out the cost and make it much more bearable.
Now, if you’re very handy and can build parts from scratch you can certainly build a complete DIY home cockpit sim for less. Indeed there are fantastic builders who have done just that and you’ll find some of them under the Builder Sites section of my links page. If you’d rather build your sim with mostly replica parts, or have a sim company set up a complete sim at your location it’ll obviously cost more. The choice is really up to you.
Keep in mind, you can add components in any order that works best for you. Here, I’ve tried to order the components that get you flying first, then grow you into the the remaining components in a logical way.
So, let’s begin with a basic setup and work our way up through all the major components you’ll want to finish out your full-sized cockpit project.
A basic airliner flight simulator setup
Since most of us can’t afford a full-blown home-based flight simulator all at once it’s not surprising many of us start small and work our way up.
Here are some of the first components you’ll want to consider so you can get flying quickly. Later, as your budget allows, you can add more.
Gaming Computer/Monitor
For any home-based cockpit simulator you need to start with a good foundation. This means at least one decently powerful mid-range computer and a good monitor. You can expect to pay around $1.5-5K for a mid-to-high end computer.
Here are some suggestions to consider when you’re looking for PC components:
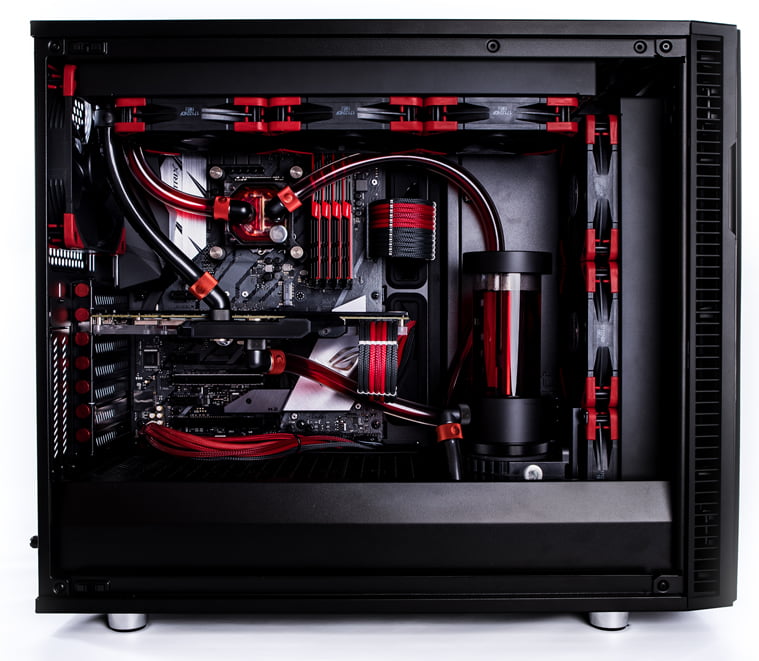
- CPU – An Intel or AMD processor doesn’t matter much, although Intel has historically been the predominant CPU for flight simulation enthusiasts. Processor GHz has the most effect on simulator performance, so obviously the higher CPU GHz the better. While core count is not as important, you’ll want at least 4 cores/8 threads minimum. 6-8 cores (12-16 threads) is optimal. The newer generations of flight simulators such as Microsoft Flight Simulator and the latest X-Plane are able to better utilize/optimize higher core counts than older simulators like FSX and Prepar3d.
- Video Card – Nvidia is typically the most used/compatible graphics card manufacturer with current generation flight simulator software. That may be changing with AMDs newer video cards. I have always used Nvidia cards, so that’s what I know. I’d recommend at least a GTX 2080 TI or above if you can get one. You can still use older cards like the GTX 1080TI, but you won’t be able to enjoy as much of the visual “eye candy” if you do.
- Hard Drive – You’ll definitely want to go with at least a 1GB M.2 SSD hard drive for the Operating System and simulator to get you the fastest read/write speeds. I typically use Samsung EVO M.2 SSDs. They’re more expensive but they perform extremely well. I’d add a second 2.5″ SSD with more space for storing all your scenery and other related files. If you can get a second M.2, even better.
- Memory – You’ll want to get the fastest, or close to the fastest memory with the lowest latency you can afford that is compatible with your motherboard. Fast memory does make a difference in simulator performance. A minimum of 16GB is recommended.
- Monitor – I’d suggest getting a G-Sync monitor when using Nvidia graphics cards, and a FreeSync monitor when using AMD graphics cards. G-Sync/FreeSync sync up the monitor’s refresh rate with the video card output to ensure you have as smooth a visual experience as possible. This is really important with flight simulation as any screen tearing or stuttering can quickly take you out of the illusion.
- Operating System – Microsoft Windows 10 is the overwhelming Operating System currently. Windows 10 Professional gives you some additional flexibility you won’t have with the other versions and I recommend it for home cockpit setups, especially when you get into multiple computers and the additional networking capabilities start to become important.
Yoke or Sidestick
You absolutely must have basic flight controls which include either a yoke or joystick.
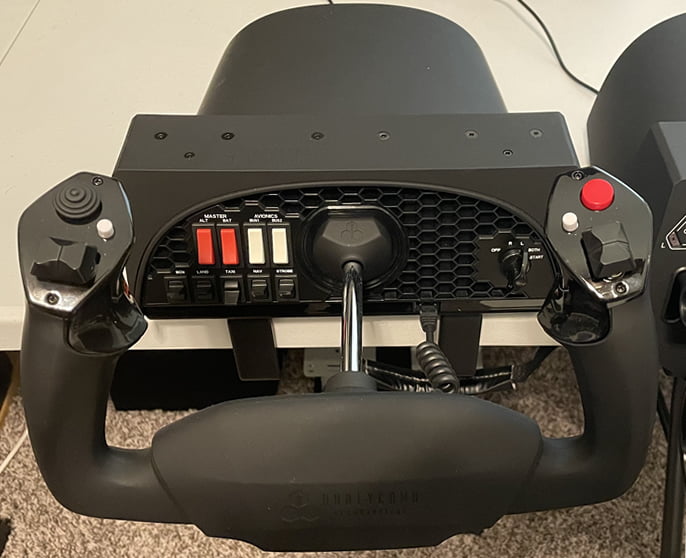
- If you like flying Boeing aircraft and/or most regional airliners/general aviation aircraft then a yoke would be your safest bet. A very solid desktop yoke, which I happen to own and can recommend, is the Honeycomb Alpha yoke. The Thrustmaster TCA Yoke Pack Boeing Edition is a new offering that also looks quite good. You can expect to spend around $250-500.
- If you’re an Airbus fan, then a decent joystick or perhaps the Thrustmaster TCA Captain Pack Airbus Edition would be a great start. You’re talking in the range from about $50-280.
- Another decent option is the Logitech (previously Saitek) Flight Yoke System that includes a yoke and throttle combination for a reasonable $170.
Rudder Pedals
Any serious simulator setup must include rudder pedals. While you might be able to get by for a while without them in the simulated world, you’ll eventually need them for more advanced flying and particularly for takeoffs, landings, ground steering, and braking.
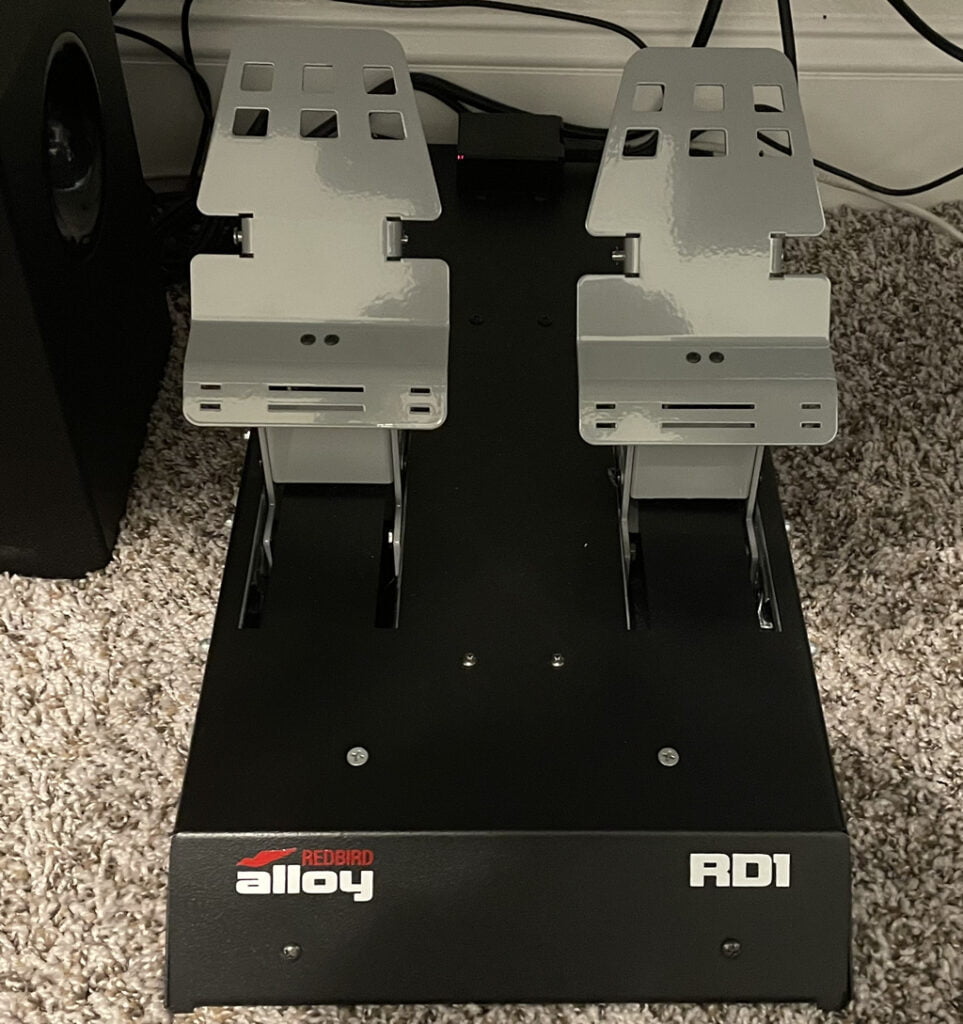
- I personally own some heavy duty pedals from Redbird called the Alloy RD1. They are solid for the price at around $600.
- Thrustmaster also makes the TPR rudder pedals for around $600 which look and operate realistically.
- Logitech makes some rudder pedals that look to be a good beginner set for around $170.
- If you’re on a tighter budget, the Thrustmaster TFRP pedals come in at about $150, but they lie flatter, unlike real rudder pedals which are much more vertical, but they’ll still do the job. Other options exist as well so take the time to research what works best for you.
I DO NOT recommend buying any rudder pedals where the pedals lie almost flat, which is completely unrealistic.
Throttle
You’ll need some way to control the power of the aircraft.
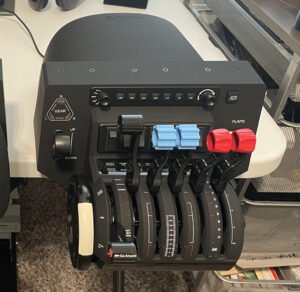
- Honeycomb offers their Bravo throttles for around $280 which allow some nice flexibility in how you configure the lever layout.
- The Thrustmaster TC packages mentioned in the Yoke/Sidestick section above include throttles bundled with the yoke or stick.
- Logitech offers an affordable throttle quadrant for $60 with interchangeable lever caps. I have a couple of them and they are decent for starter throttles.
Flight Simulator Software
The core of any flight simulator is obviously the flight simulator software itself. It is what models and replicates the aircraft and world environment.
While there are more flight simulators on the market than in the following, I chose to list only the three most popular right now.
- Lockheed Martin Prepar3d – $10/mo for a developer subscription, $60/mo for Academic license, or $200 for a Professional License.
This is the most used flight simulator software for cockpit builders right now. It was originally a Microsoft product called ESP, and Lockheed bought the commercial rights to continue development and distribution for non-entertainment (i.e. professional ) purposes after Microsoft ceased development in 2009. - Laminar Research’s X-Plane – $60.
Laminar, and it’s owner Austin Meyer, have been developing X-Plane for a long time now and it has a large freeware community that is constantly creating new content. It’s quite well suited to multi-PC, home cockpit environments but not as well supported in the third party content space. - Microsoft Flight Simulator – $70-120.
This is the newest major simulator, launched in Aug 2020, and the most realistic looking sim yet. It is still growing into its shoes, and the capabilities needed for a multi-monitor, multi-PC home cockpit setup are not quite there yet. It won’t be much longer before this likely becomes the defacto simulator for home cockpit builders. It’s probably the best simulator for desktop simulation right now.
Avionics Software
Avionics software is the heart of a home cockpit setup. If you plan to stay confined to a desktop simulator then you likely won’t need dedicated avionics software. Fantastic study-level (i.e. realistic and complex) airliner add-ons like PMDG’s Boeing 737, 747, and 777 or FlightSim Labs Airbus A319, A320 and A321 already handle all the avionics for you within the flight simulator addon itself.
You might ask, why not use the avionics from those complex airliner add-ons? There are a number of reasons I can think of:
- Flexibility – You can’t easily break out components across different computers, which you might need to do for performance reasons. For example, you might want to use one computer to output the captains avionics displays and another for the FOs. You might also want an instructor station on yet another computer.
- Hardware Compatibility – Desktop add-ons usually don’t have the ability to support and communicate with a large selection of dedicated interface boards and hardware that cockpit builders normally use.
- Advanced Interfacing – Desktop add-ons usually aren’t flexible enough to allow you to assign hardware to every button, light, switch, and function of the aircraft. ProSim, for example, has the ability to assign almost every cockpit function to some sort of hardware.
- Instructor Station – You will usually want an instructor station to allow you or someone else to control various aspects of your simulation experience. A separate instructor station is usually included with dedicated avionics software.
Therefore, if you plan to expand beyond the desktop you’ll want avionics software that is more powerful, flexible and tailored to interfacing with all kinds of advanced hardware cockpit builders use.
Here are some of the major players in home cockpit avionics:
- ProSim 737 and A320 – Approximately $1400-1700 depending on exchange rate.
ProSim make in-depth avionics software for enthusiasts and commercial businesses. They specialize in the Boeing 737-800, Boeing 737 MAX, and Airbus A320. This is the software I use and I find it is extremely easy to install and operate across multiple PCs. They have a large, helpful support community and provide continual updates with a yearly subscription fee. - Sim-Avionics – $$$ (price not advertised)
The software covers the Boeing 737-800, Boeing 737 MAX, and Boeing 777. A quote can be requested through the FlightDeck Solutions web site. - Aerowinx – Approximately $350 depending on exchange rate.
Aerowinx provides an extremely accurate modeling of the Boeing 747-400’s avionics and is quite well known throughout the community. - Project Magenta – Approximately $225-700+ depending on exchange rate.
Project Magenta has been around for a long time and provide avionics software for numerous aircraft including General Aviation, Regional aircraft, Boeing 737NG, 747-400, 777, 757/767, and Airbus A320, 330 and 340 aircraft.
Taking it further
Now that you have a solid foundation, if you want to take things up a notch consider adding the following as you progress.
MCP/EFIS/CDU
One of the first pieces of hardware you should consider when building an airliner simulator is a Mode Control Panel (MCP), Electronic Flight Instrument System (EFIS) and Control Display Unit (CDU). The MCP/EFIS/CDU allow you to program and control the Flight Management System (FMS) which manages the performance and auto-flight capability of the aircraft.
There are a lot of choices when it comes to the MCP/EFIS/CDU components, and where you’re going to have to start spending a little more money.
Entry Level MCP/EFIS
You can start out with something like a GoFlight MCP and EFIS which is probably the most inexpensive available starting at around $519. Add their EFIS and that will run you another $319. They’re not terribly scale in appearance, but works pretty well for the desktop environment.
Professional Level MCP/EFIS
At some point you’re going to want to bump it up to a more professional looking/operating MCP/EFIS combination and most of the major sim vendors have good ones. I would recommend CPFlight or FlightDeck Solutions versions as the quality and support are excellent.
A professional level MCP will cost you around $1100-1500 and around $400 for each of the two EFIS modules.
CDU
Next to the MCP/EFIS, the Control Display Unit or CDU is another critical piece of hardware you should get up front if you’re planning to build an airliner sim. You’ll use it heavily.
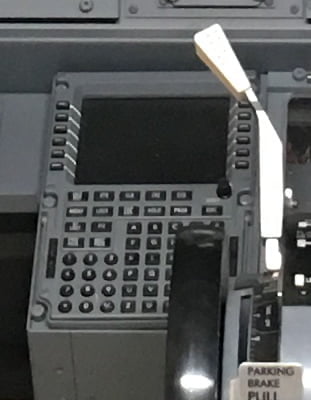
The CDU is basically a glorified keypad with a display that allows you to program the aircraft’s performance and route parameters into the Flight Management System (FMS) for the aircraft to follow.
Most major sim parts vendors sell these as well. As above, I’d recommend both CPFlight or FlightDeck Solutions for their quality and durability. They are also designed to sit on the desktop if you don’t have an instrument panel yet.
These will run you around $1K USD each and there are two of them in the cockpit. You only really need one to start since the multiple CDUs in the cockpit are redundant for obvious reasons.
Main Instrument Panel (or MIP)
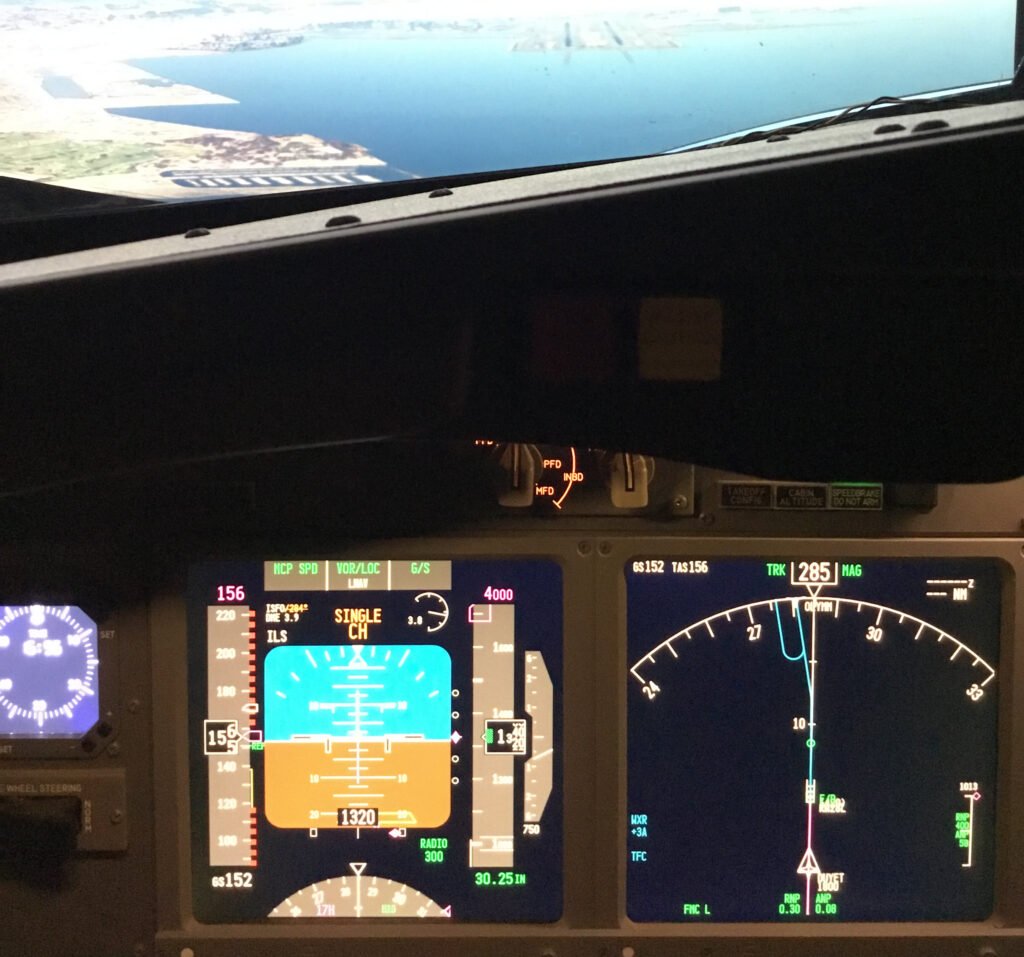
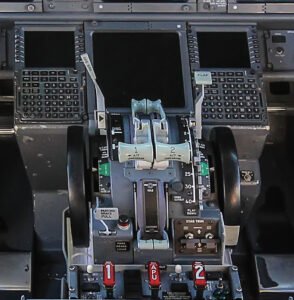
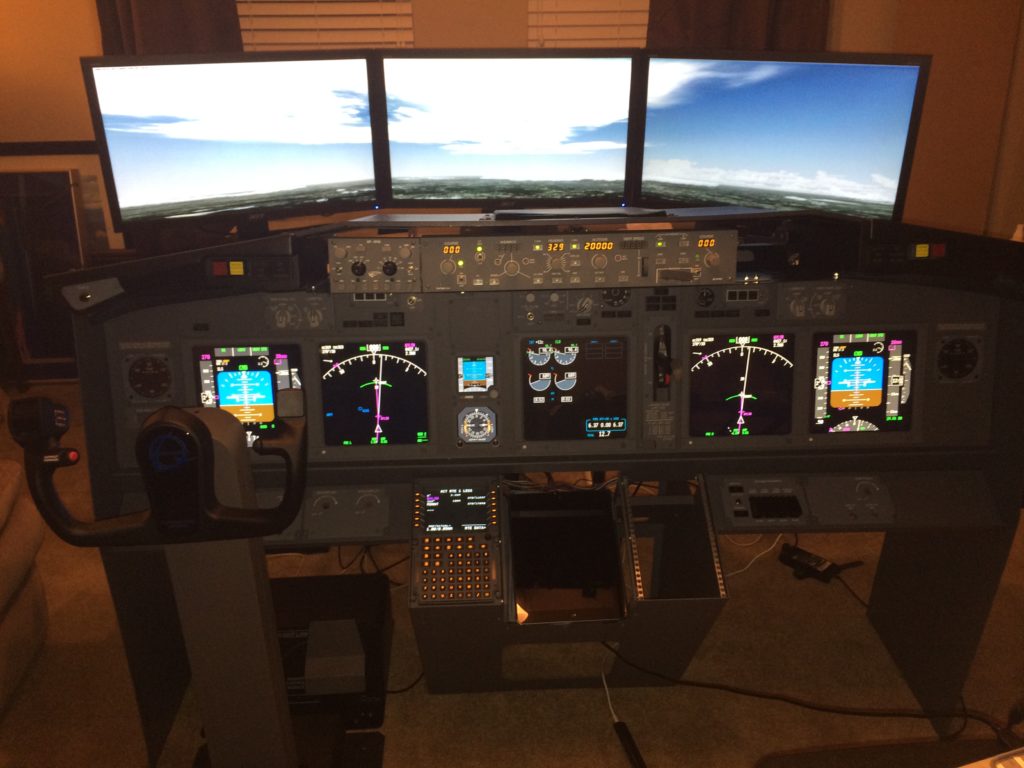
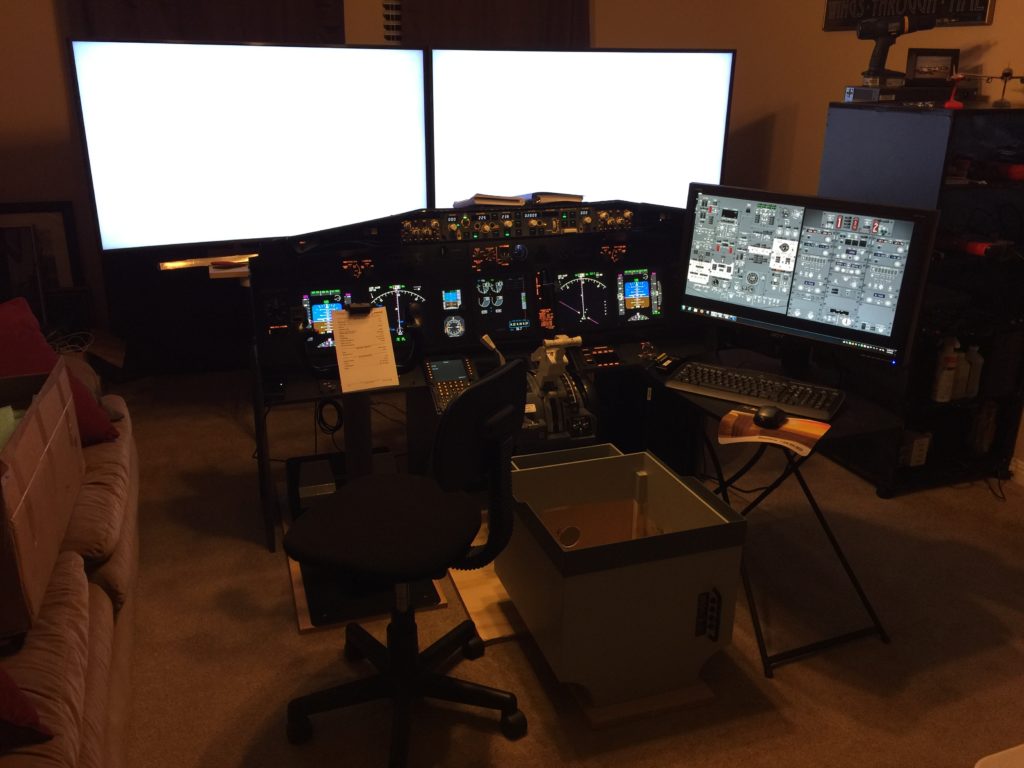
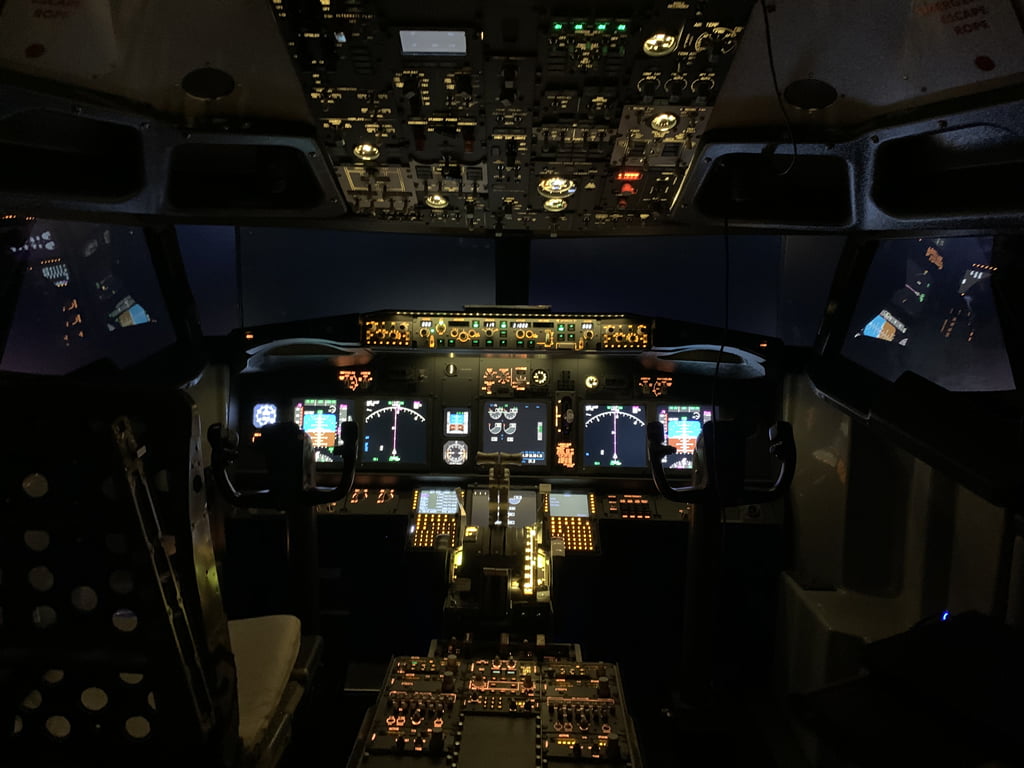
The Main Instrument Panel is the core component of your flight simulator cockpit build. It’s like the dashboard of your car and where you look most of the time. It houses the main instrument displays, the autopilot controls, landing gear lever, pilot lighting, and some other important features.
Low Cost Do-it-Yourself Instrument Panel
MIP’s are not too hard to build if you want to do it yourself and save some money. There are plenty of plans around the Internet. If you build it yourself you can probably get by with $200-300 in wood, and maybe $200-300 in electronic parts, and then the cost of some monitors to make the displays (let’s say $150-200 if you buy them on eBay). Less than $1000 total.
The trade-off with this method is time. You need to research the right dimensions and materials for the parts and plan out how it will all go together. You need to cut the parts so you’ll need the right tools. And you’ll need to paint. There is a HUGE investment in time for every dollar you save, but if you’re up for the challenge you can “potentially” save a lot of money. Keep in mind that in the end it’s not always as much as you’d think.
High-End Instrument Panel Kit
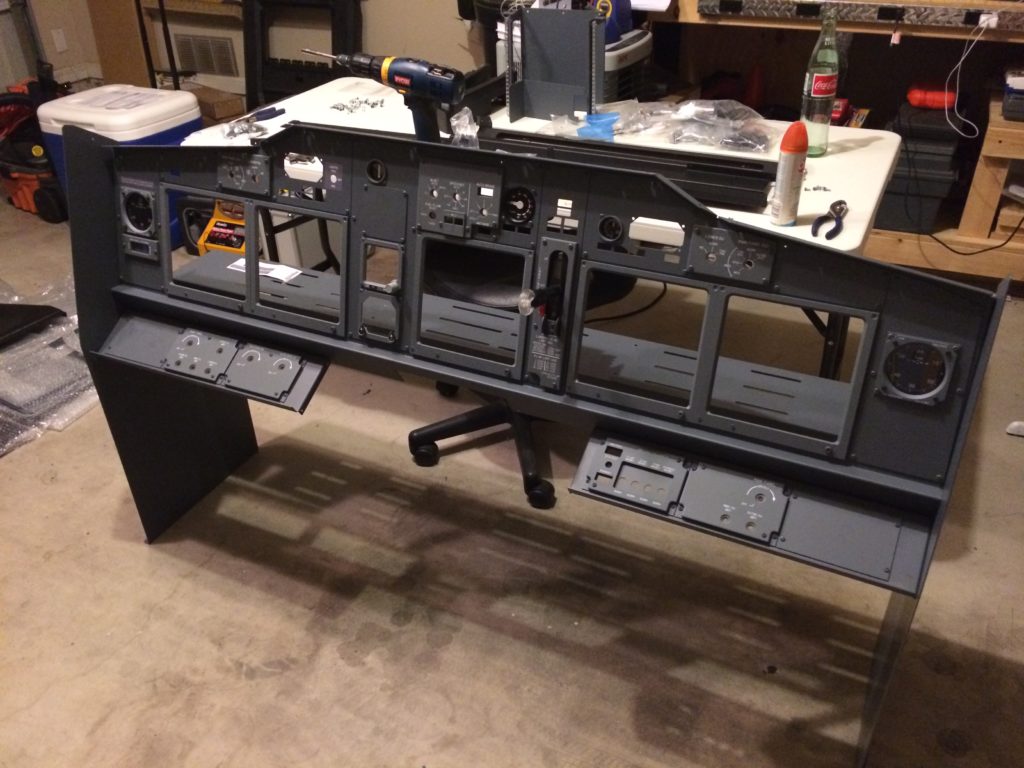
The advantage to buying a MIP kit is that everything has been designed and thought out for you already. You just need to put it together with simple tools. I went with a MIP kit to save me time and effort, and ensure it was accurate.
I chose Flightdeck Solutions (FDS) for my MIP kit because I heard good things about them. An advantage is they are in Canada which is close to the United States, and the exchange rate was in my favor. Plus, shipping it here was more affordable. I also purchased their associated electronics pack which had all the switches and indicator LEDs.
You may be expected to wire everything yourself, so if possible, see if the vendor offers pre-made wiring harnesses or at least instructions on how to wire all the components.
You can expect to spend somewhere around $3-5K for a functional MIP Kit
Pre-Built Main Instrument Panel
If you’ve got the money to spare and not a lot of time, a pre-built MIP may be worth it. They’re significantly more expensive because of all the work that goes into them, so don’t be surprised to see them run upwards of $5-10K.
There are many companies that sell MIP kits, and indeed most of the parts mentioned on this page. Most of them are in Europe. Visit the Links page for a list of some popular vendors. Again, I am not sponsored…these are just a collection of vendors I have found, and in many cases used, over the years.
Control Columns/Yokes
Real airliners have two control columns/yokes linked together via a link mechanism under the floor. Moving one causes the other to move in identical fashion.
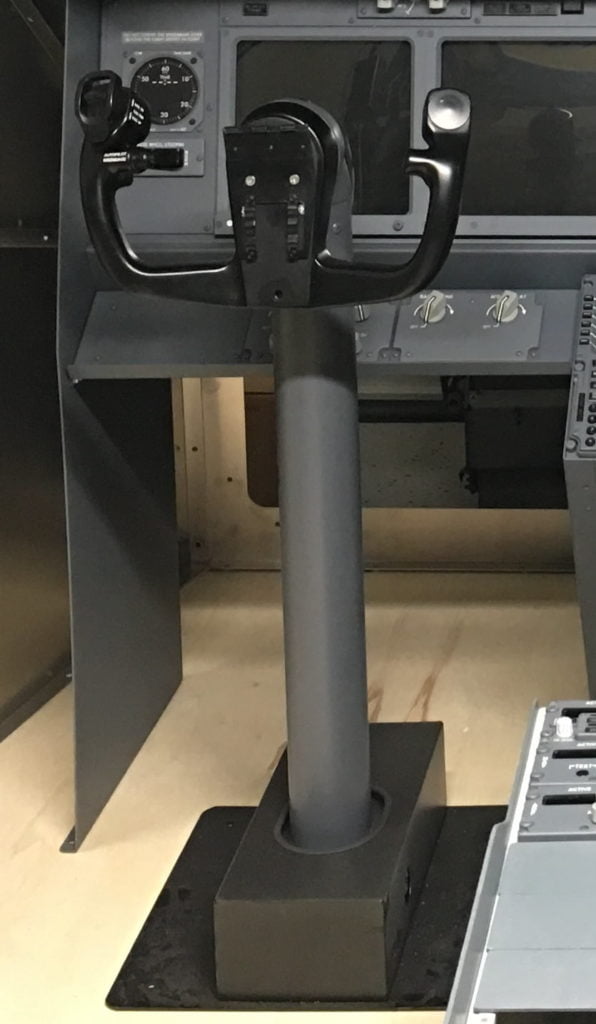
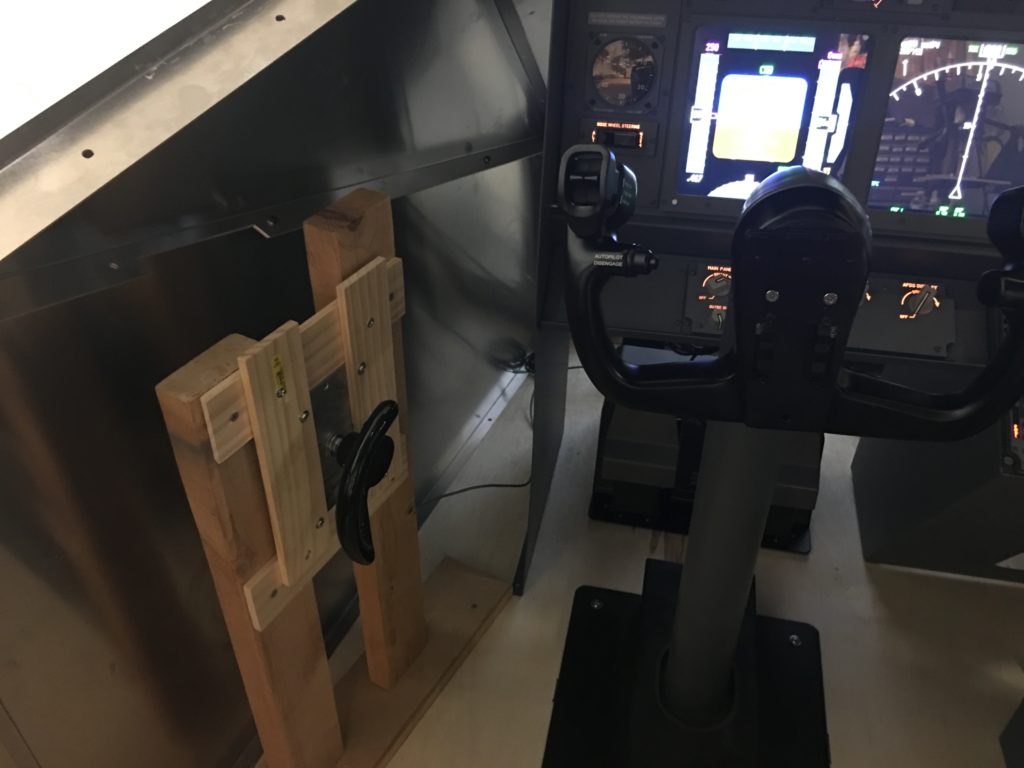
Most replica standalone control columns are mounted above the floor, as in the ACE yoke image below. While not 100% accurate, it’s perfectly fine if it fits your needs. The downside is they won’t be linked together like the real aircraft. For that, you’d need a set of linked yokes which will obviously cost more.
You’ll need to decide which method (above the floor standalone or under floor linked) is best for your application and budget.
Moderate Price: Standalone Control Columns
If you want a more realistic yoke than a desktop yoke provides, the next step is standalone control columns/yokes. They cost around $1200-1500+ USD each.
I have owned the Precision Flight Controls Saab airliner yoke which was solid. However, it was not very authentic to the Boeing 737. I have since replaced it with ACE yokes which are much closer to the real thing. Unfortunately that company is now out of business.
Replica manufacturers such as SimuJabs and AGRONN among others make realistic standalone yokes for reasonable prices.
Expensive: Linked Control Columns
If you want a truly accurate cockpit you’ll need two control columns that are linked together. A linked yoke mechanism with run you at least $3.5K-5.5K, and most need 6 to 12 inches of space under your floor for the linkage mechanism, so keep that in mind.
Companies like SimuJabs, AGRONN,Northern Flight Sim and FSC make them, as do a number of others.
You can also source real control wheels and columns on eBay or other aviation sites. Typically real control columns run about $1250 each on places like eBay. Since they are real, you can’t get any better. However, you’ll have to do some custom work to mount and interface them . You’ll also have to add tensioning springs to approximate the right pull forces. It’s not hard, it just takes some thinking ahead and some handiness with tools and some engineering skills.
Unlimited Budget: Control Loaded Linked Control Columns
Lastly, you can do a control loaded yoke. This is the most realistic configuration because you’ll even feel realistic control forces in the yoke during flight. You’ll also see the control columns moving during auto-flight, just as the real aircraft.
You can build your own control loading more cost-effectively with help from sites like BFF. Other companies like Brunner and FSC, among others, offer complete Control Loading solutions. Generally, though, expect a pre-made solution to be very expensive starting at around $15-25K+.
This is the ultimate in realism and what I am striving to get to some day!
Rudder Pedals / Steering Tiller
Flying a simulated aircraft without rudder pedals is possible, but certainly not realistic. Rudder pedals are necessary when you need to correct yawing on takeoff and landing, especially on windy days. You’ll also need the pedals for brakes which are activated by pressing the tops of the rudder pedals.
Moderately Priced: Single Rudder Pedals
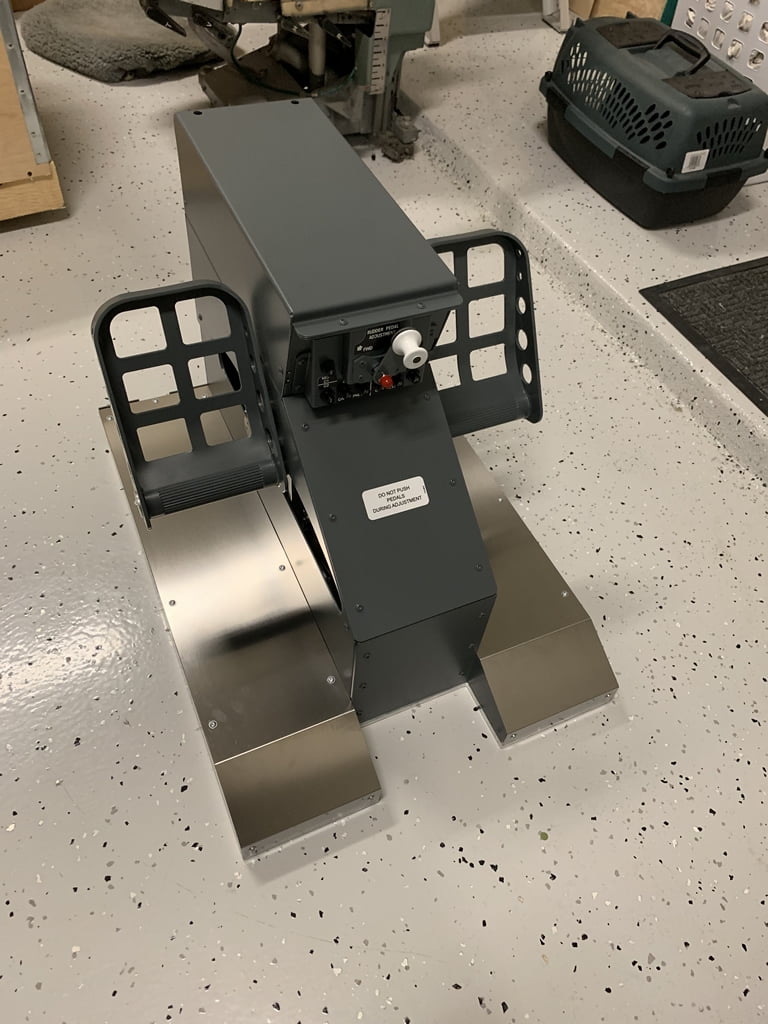
The next step is to buy a quality rudder pedal from a company like Precision Flight Controls for around $850+. These are sturdier but aren’t going to look like the real thing.
For around the same price you could buy a set of solid real-looking pedals from Opencockpits. Just remember shipping costs on these heavy and bulky items!
Expensive: Linked Rudder Pedals
In reality, there are two sets of pedals that are linked together. Pushing the pedals on the pilots side causes the pedals to correspondigly move on the co-pilots side. A set of two linked rudder pedals will easily cost you $5000+ depending on who you buy from. FlightDeck Solutions, OpenCockpits, FSC, Northern Flight Sim and others sell them.
You could also source some real rudder pedals for much cheaper, but converting them for simulator use may be more of a challenge than is worth due to the complexity.
Unlimited Budget: Control Loaded Linked Pedals
If money is no object, you really want to take it next level with control-loaded linked pedals. Super expensive, but the ultimate in realism! Easily in the $15-20K+ range.
Steering Tiller
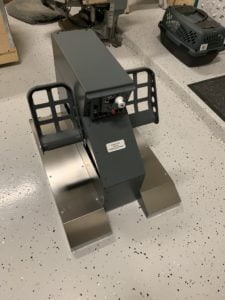
In order to steer a heavy jet on the ground, especially when making tight turns, you’ll need a steering tiller. The rudder pedals on a Boeing 737 only turn the nose wheel a maximum of 7 degrees. So I highly recommend adding a steering tiller. I bought mine from Jetmax but most major sim parts vendors sell them. Expect to spend $300-400 on a decent spring-loaded one. Sure, you can build it yourself, but it’s just not worth it, honestly.
Throttle Quadrant (TQ)
Moderate Price: Replica non-motorized
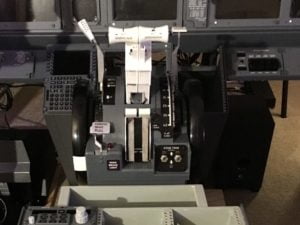
You could go with a non-motorized replica Boeing 737 TQ that gets you much closer to realistic. I have had a second-hand Jetmax throttle that looks great and does the main things I need it to do. New they’re somewhere around $1250 USD.
Expensive: Fully Motorized
If you want to replicate the real TQ exactly, you’ll want one with motorized trim wheels, thrust levers, and spoiler lever. It will cost you close to $4.5-5.5K for a fully functional one. Cockpit4you and FlightDeck Solutions make some of the more popular fully motorized TQs, though many replica companies make them.
Make sure you do a lot of research before buying one. This is a major investment and you’ll want to make sure you get reliable support and warranty service should you ever need it.
You can also buy used. I ended up finding a used RevSim TQ for half the cost of new, but I dealt with a lot of headaches to get it working right. If you do choose to buy used make sure you know what you’re getting.
Real TQ Conversion
The last option, and probably the most expensive/difficult, is to source a real TQ and convert it for simulator use. Your most easily attainable 737 TQ’s would be the Boeing 737 Classic TQ. These would be the Boeing 737-100 to 737-500. The Boeing 737 NG (600-900 models) are very hard to come by since they’re still mostly in use. There are differences between the Classic and NG TQ’s, so you’ll have to judge whether it’s worthwhile.
Then, you’ll need to clean it, paint it, and rebuild it for simulation use. It’s not easy and you’ll likely face some serious engineering and electrical challenges to get it fully functional.
For a real TQ we’re talking around $2.5- $5K if you can find one in decent condition. Then you need to convert it to work with the sim, which could easily set you back another $2.5-5K+. But there’s nothing better built than the real thing.
Center Pedestal
The center pedestal is where all your communication radios, weather panel, and fire panel will reside.
If you build a pedestal frame from scratch you can do it for around a few hundred dollars. They’re not overly complex. The wood to make the frame won’t cost you much. The DZUS mounting rails, should you choose to go that route, will cost you the most.
A pre-made pedestal will run you around $700-1250 USD.
You’ll eventually need to buy a dozen or so pre-made pedestal panels at around $200-500 each. A Fire Panel can run you around $1250..
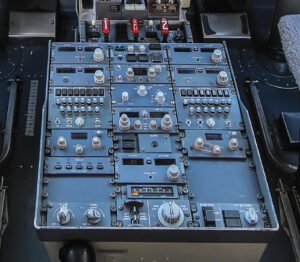
The good thing is you don’t need to start with a fully equipped pedestal bay. The image below shows my pedestal equipped with the essential panels to do everything needed for single pilot operations.
A fully built and equipped center pedestal can run you upwards of $5-8K.
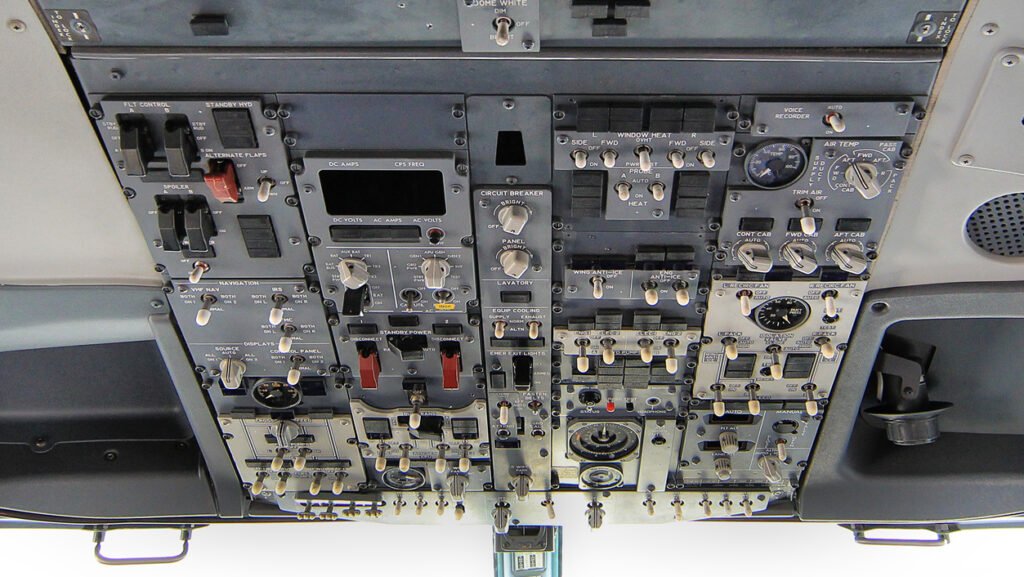
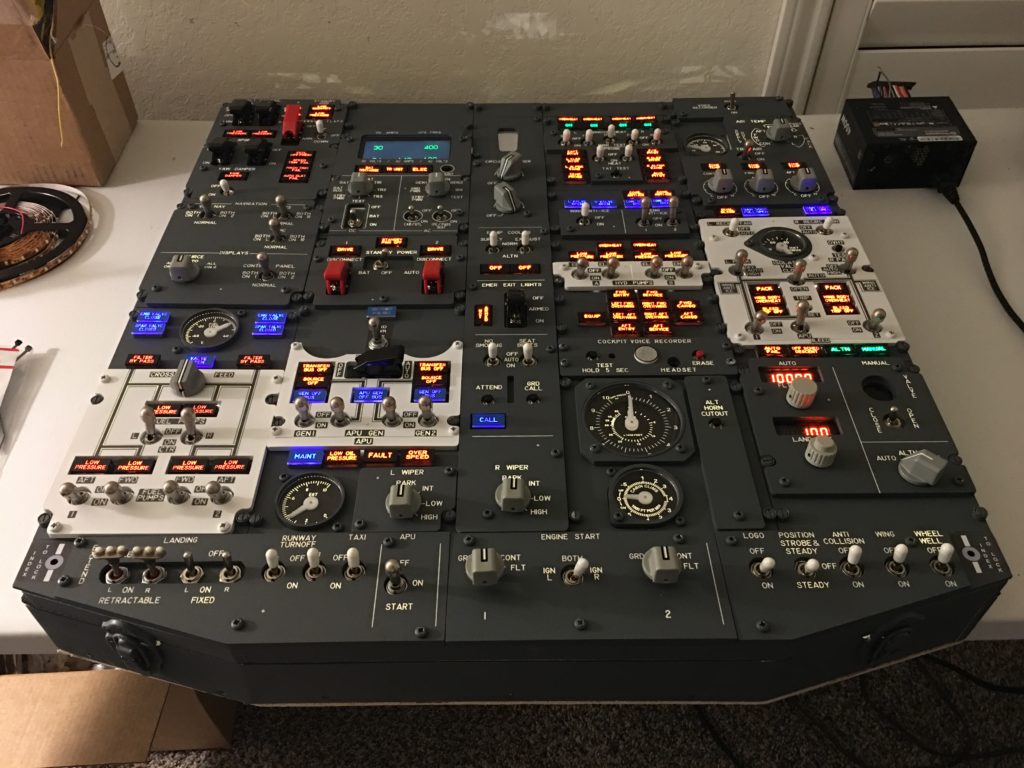
Forward (FWD) Overhead Panel
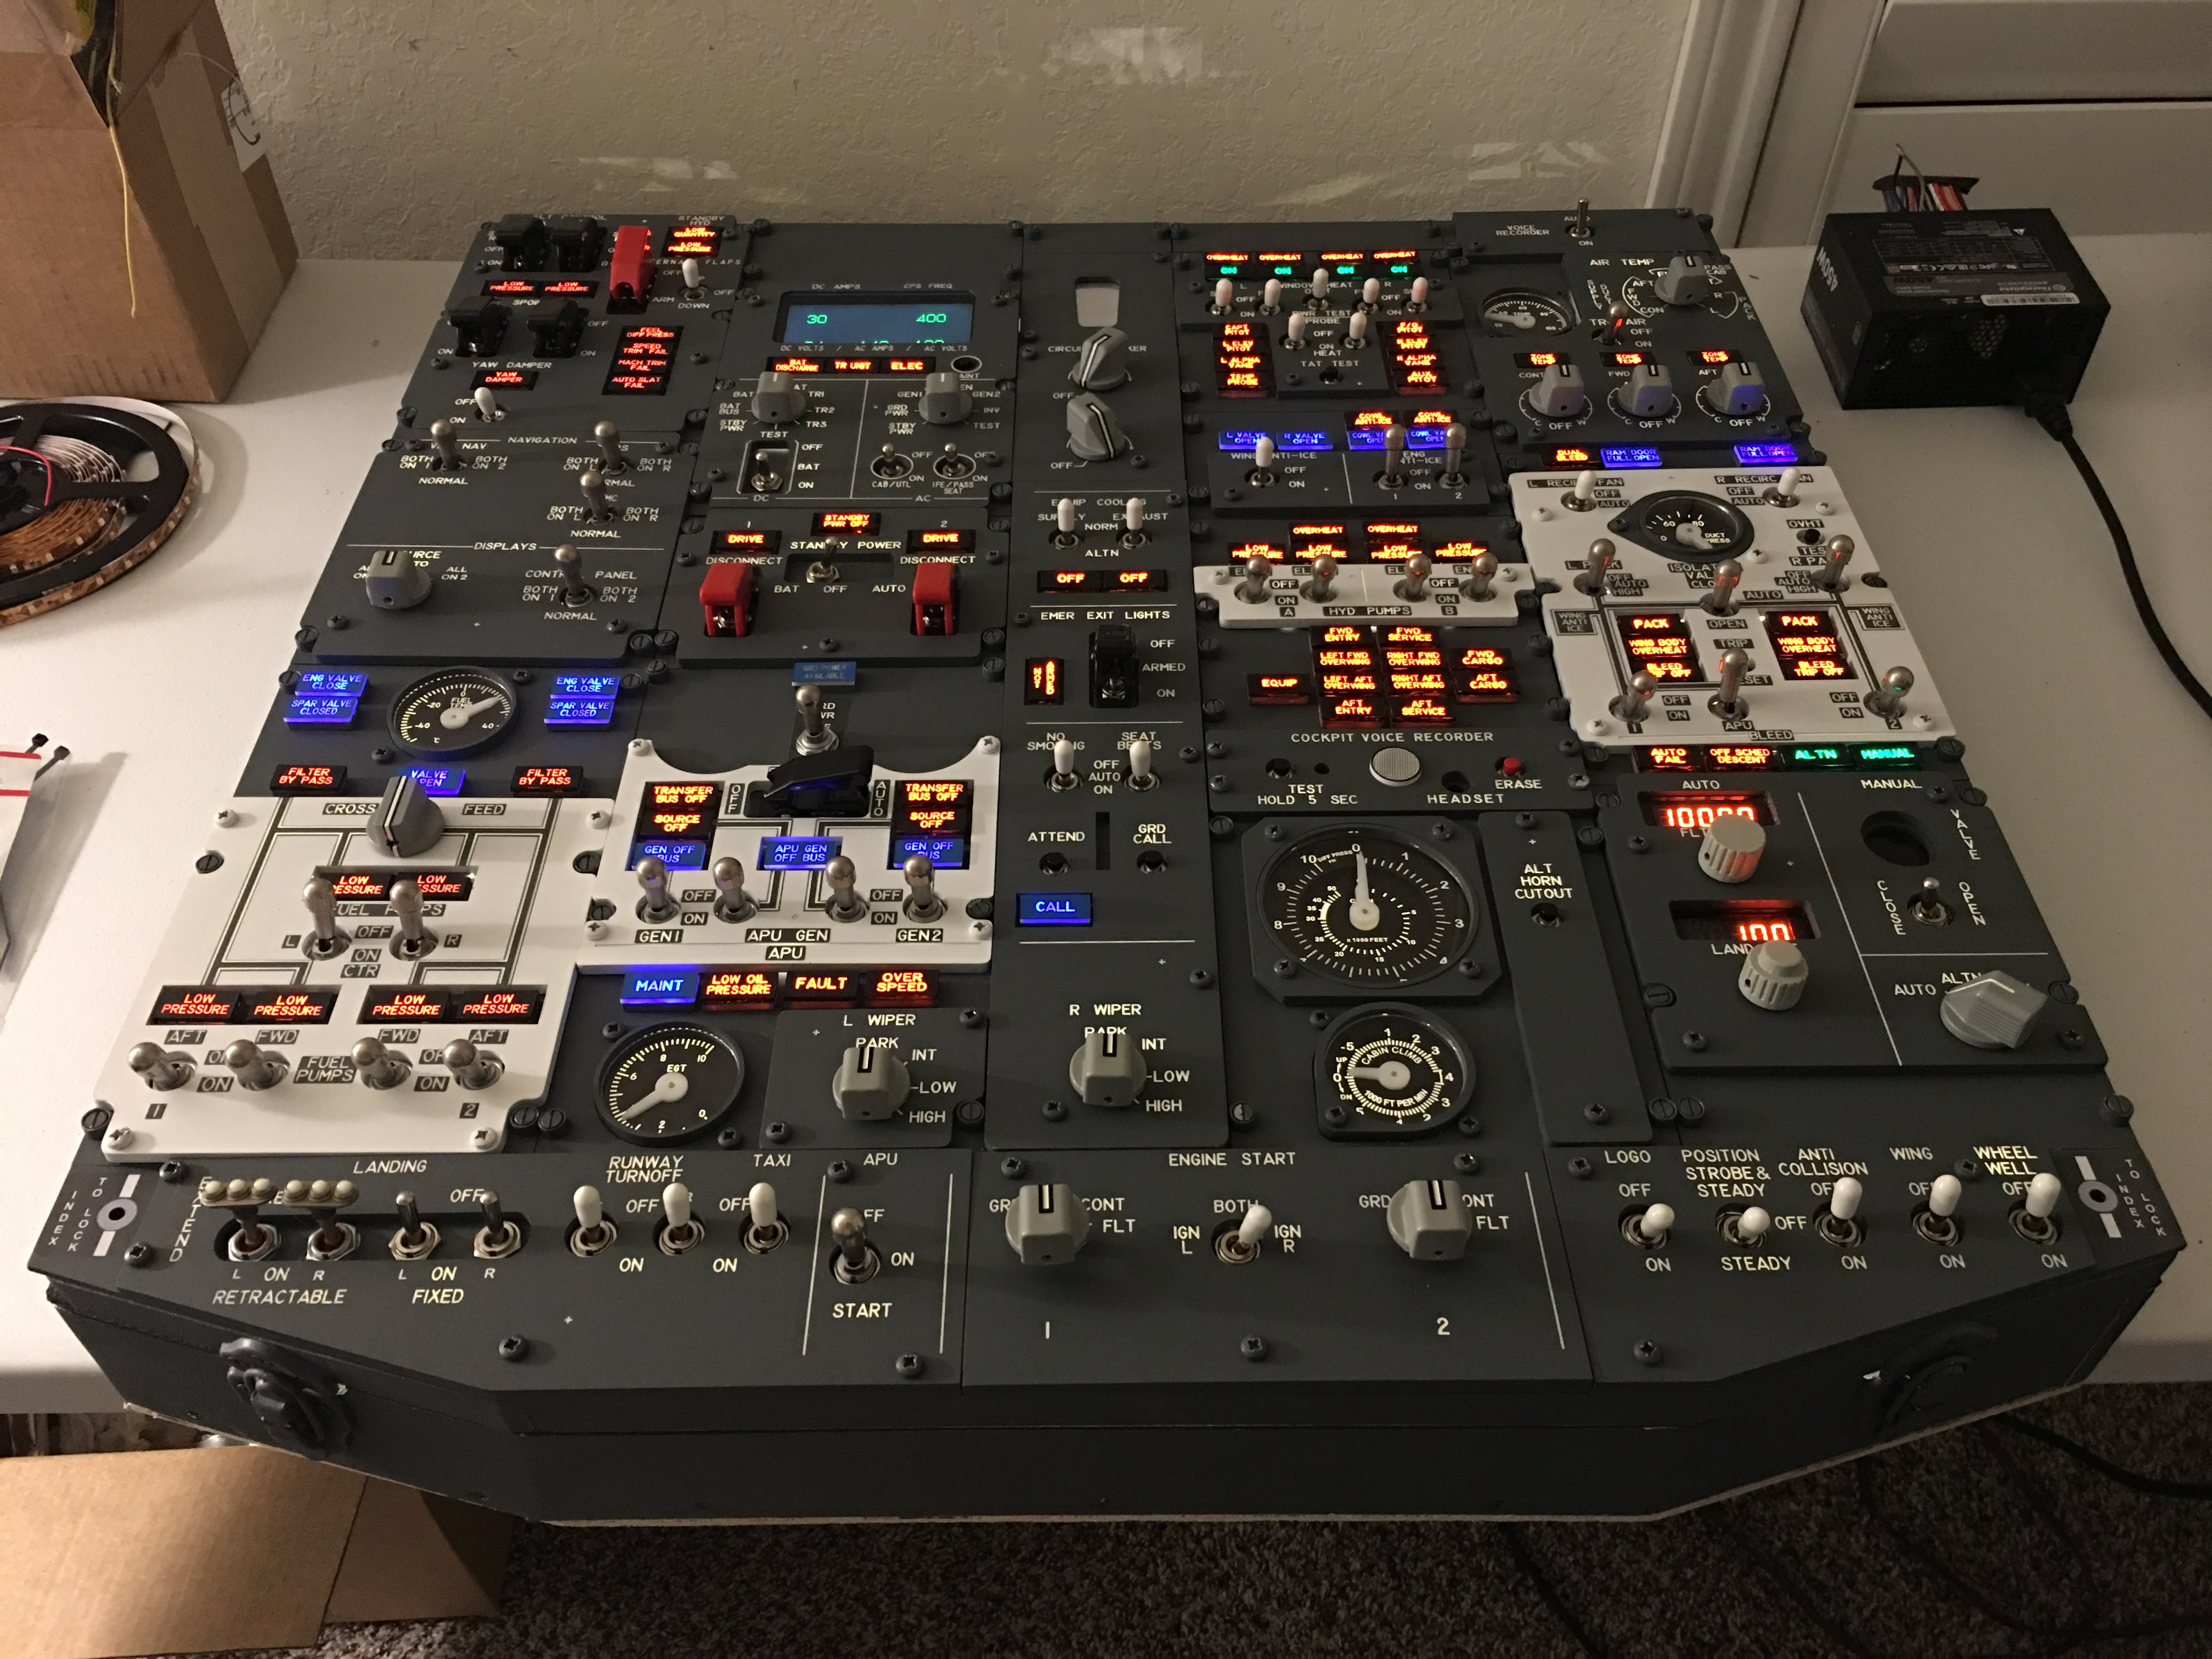
The FWD overhead is used primarily in startup and shutdown and houses controls for fuel, hydraulics, pneumatics, electrics, and lighting. Once you’re in flight you don’t really touch it except for perhaps the landing lights, and for emergencies. However, it is highly satisfying to have a fully functional overhead and I consider it one of my favorite pieces. It just looks awesome!
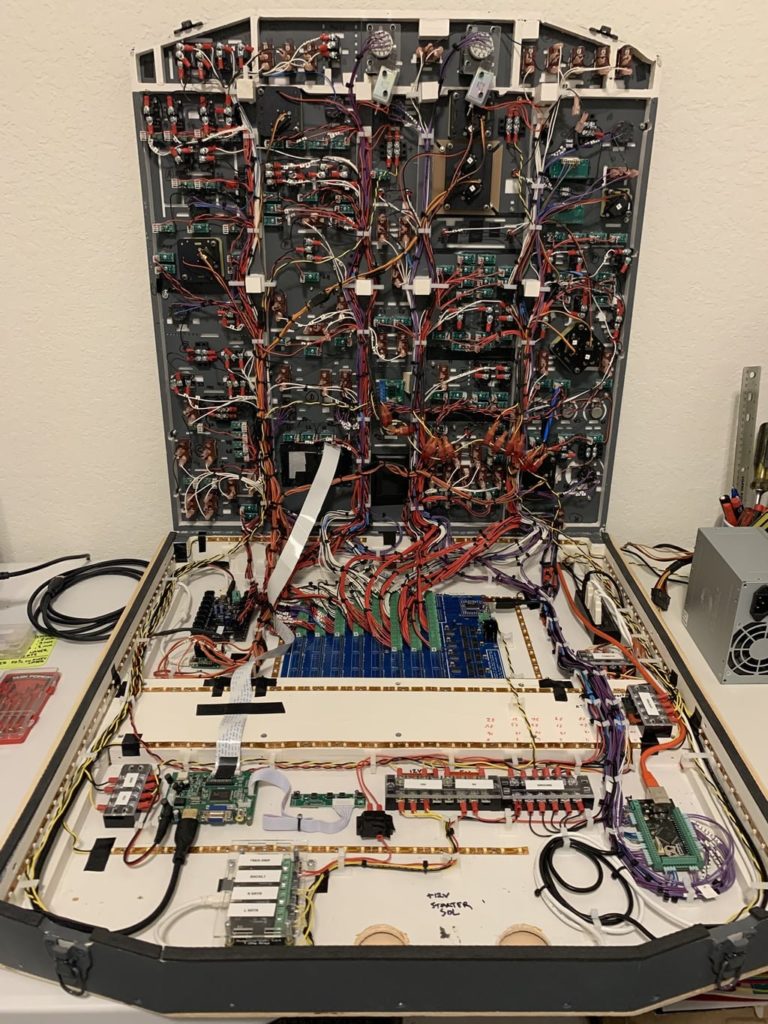
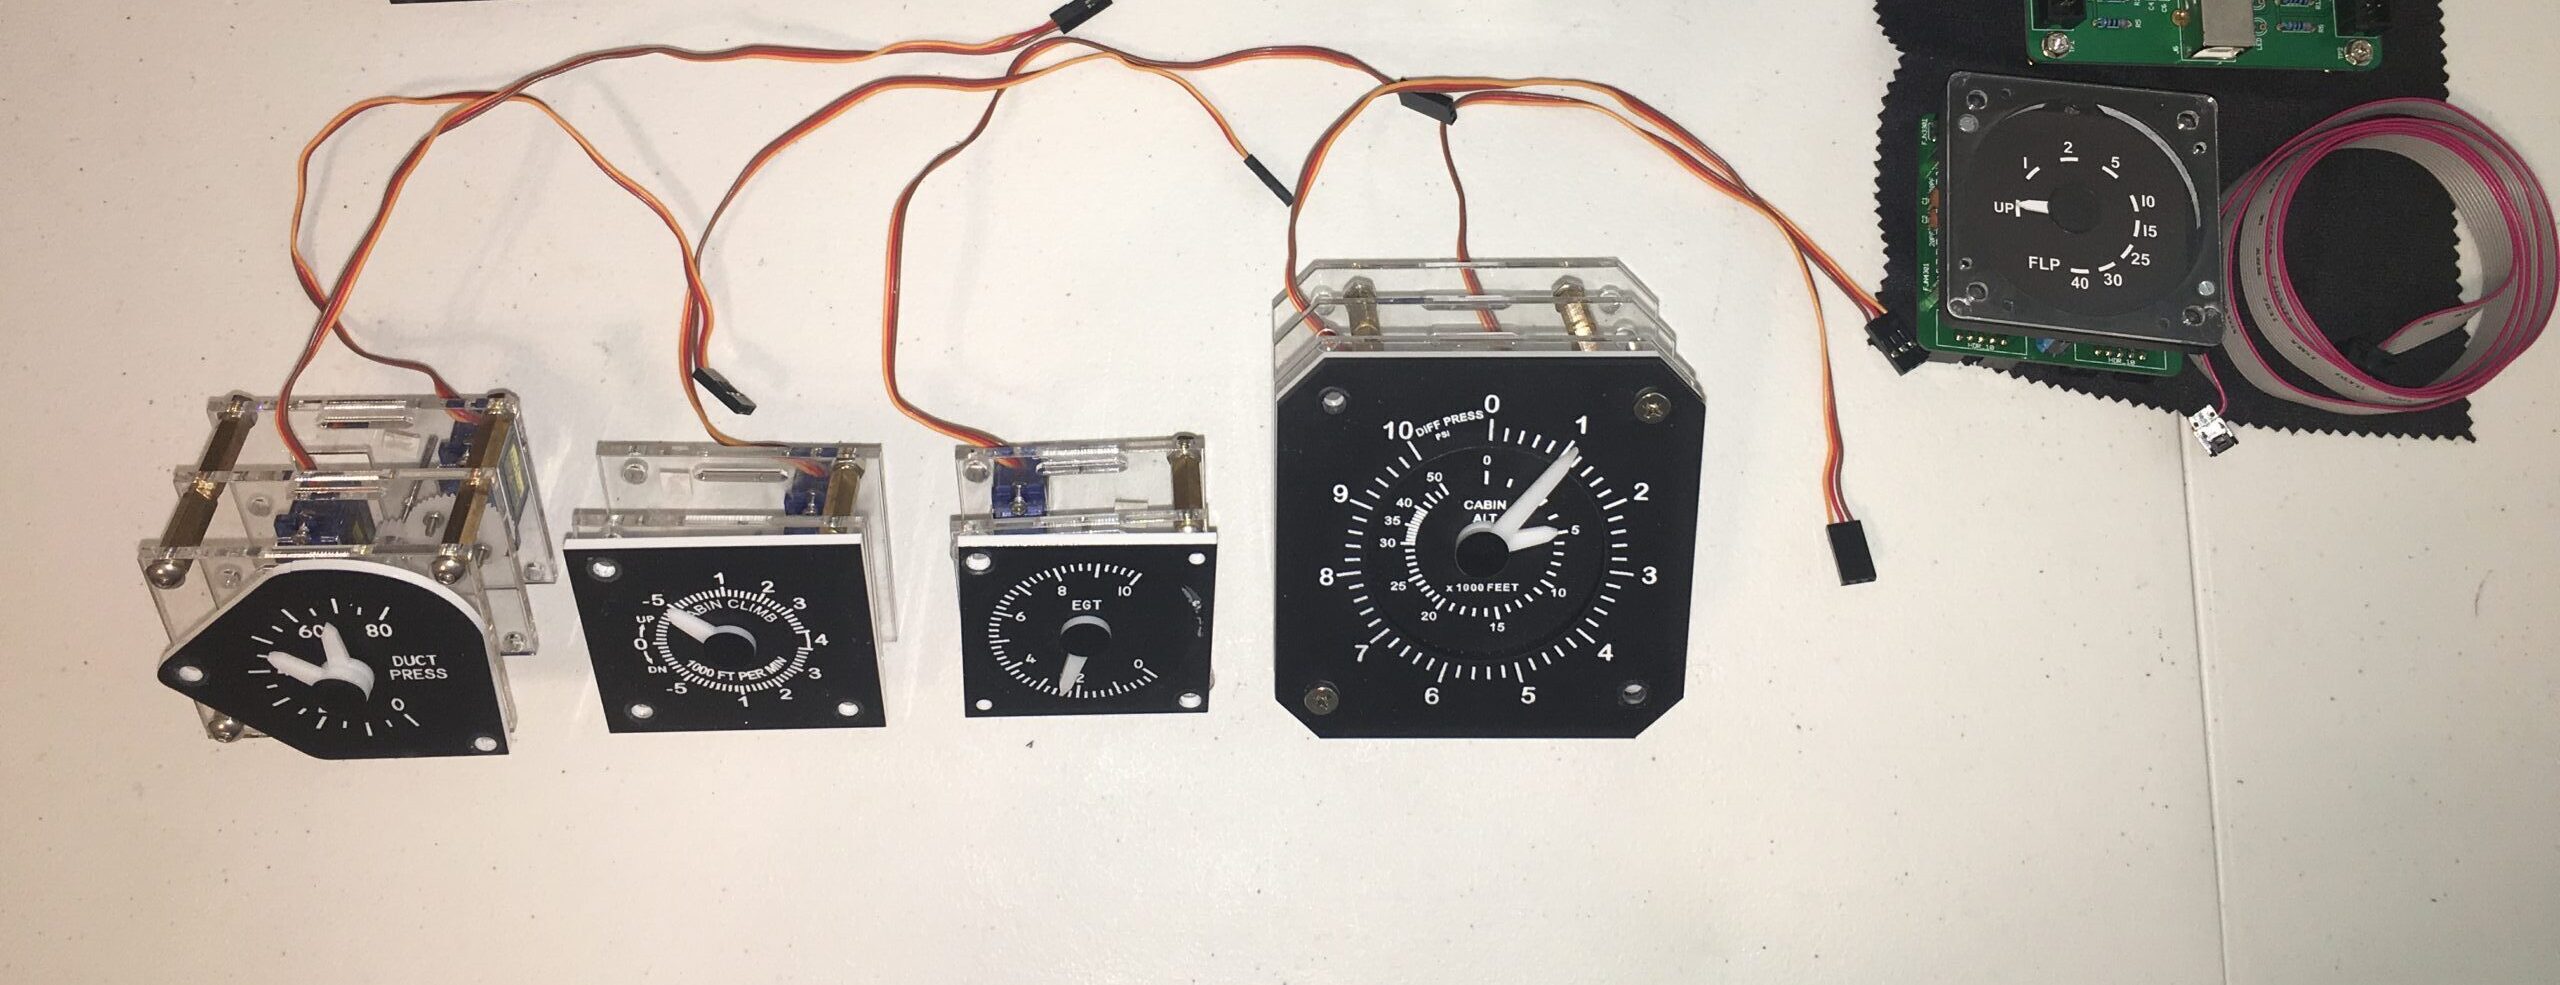
This section of the cockpit is significantly more complex than anything else in your cockpit. The number of switches, mechanical gauges, LEDs, and overall parts makes it extremely challenging to build yourself so make sure you think long and hard whether you want to build it yourself to “save” money or just buy one plug-and-play ready from a reputable sim manufacturer.
Questions to ask yourself before you begin
Here are some questions you need to ask yourself before you begin an overhead project. This will drive whether it’s worth your time to build yourself, or wait until you can afford a full-built overhead:
- How accurate/detailed do you want to go?
- How much time and interest do you really have? (or will your significant other tolerate!)
- What kind of frame are you going to build?
- Will the frame be strong enough to support a LOT of weight without bowing, flexing or breaking?
- What will you mount the overhead to?
- How will you maintain the overhead once it’s in? Swing down design? Remove the entire thing?
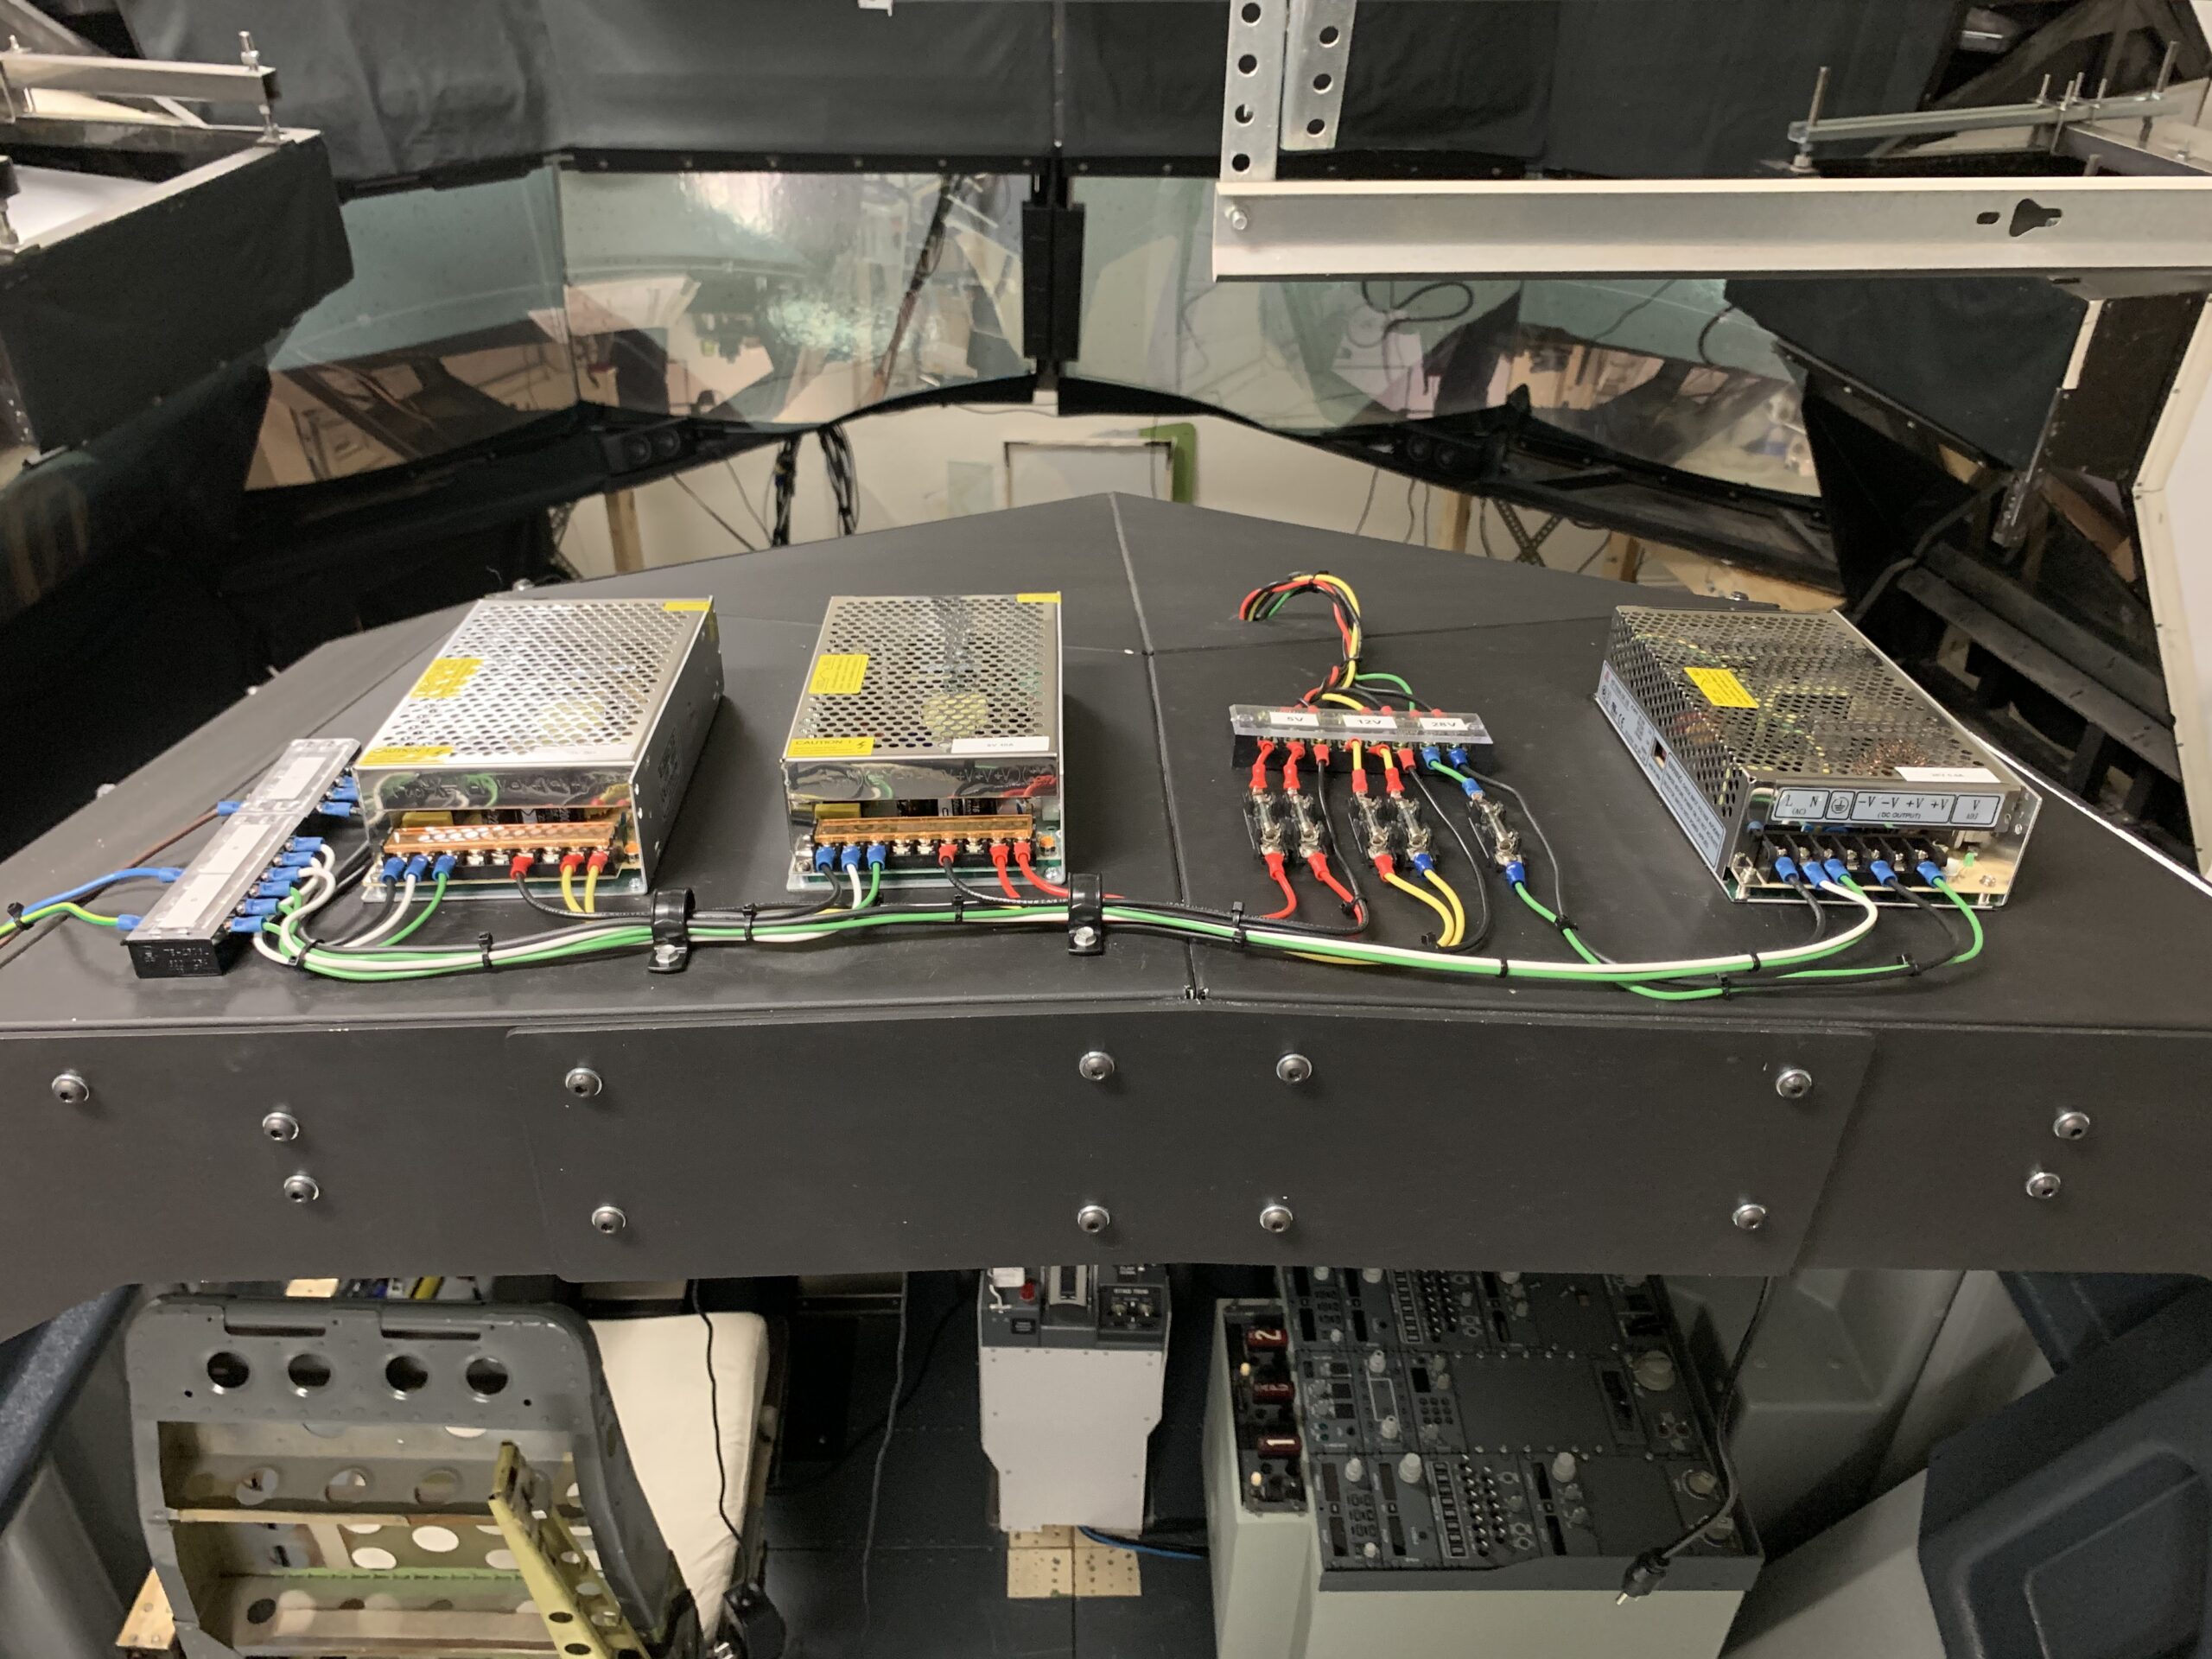
- What power supplies will you use to power everything?
- What voltages will you be running?
- How will you run the wires?
- What wire color scheme will you use?
- What wire gauges do you need?
- How much wire do you need?
- How will you avoid electromagnetic inteference?
- Can you solder? Do you have a good soldering iron?
- How will you distribute power?
- How will you backlight your panels?
- Will the backlight be consistent brightness?
- How will you deal with wire/cable management?
- How many external connections do you want (one power, one USB, or multiple?)
- What interface boards will you need?
- What kind of gauges will you use and how will they be connected?
- If you’re adding solenoid starters, what relays should you buy?
- Based on the level of realism you want, will this really save you money?
Once you’ve answered the above questions, here are some ways to proceed:
Low-End, Low-Cost Overhead
You could make a simple overhead for probably $500-1000. Cut an MDF board to size, drill holes in it for some toggle switches and knobs, add some LED lights for indicators, buy an inexpensive interface card to connect everything (LeoBodnar BU0836X, for example), and maybe use a printed/laminated background from a print shop to replicate the panels. It’s not fancy, but it will be functional.
Moderate Price: Do-It-Yourself Overhead
If you want to build something more realistic it’s very possible thanks to the many parts now available. I chose to build my first Overhead using affordable CockpitSimParts panels using their electronic components/gauges kit. Going this route, you could easily spend anywhere from $1-5K+ depending on how accurate you want to be.
The more functional the overhead is, the more complex the internals will be and the more complicated the wiring. You can use my FWD overhead picture above to get an idea of what a very accurate, fully functional overhead will look like. In total, that was around $4-5K and at least 2-3 months of work.
Expensive: Pre-Built FWD Overhead
If you choose to buy a FWD overhead pre-built you can expect to spend at least $3-4K for a base model overhead, and $5-10K for a fully accurate forward overhead with the proper locking switches, smooth gauges, proper backlighting, etc. It sounds like a lot, but when you think about what I talked about above, it’s not unrealistic. There is a TON of engineering that goes into these overheads.
There are a a handful of sim manufacturers that build good overheads, including Flightdeck Solutions, CPFlight, Simworld, OpenCockpits, etc. Most of them are in Europe so if you’re in the US, remember shipping and customs. If you’re in Europe, remember to add VAT.
Something to think about
After looking back at all the components I needed to build the truly accurate overhead I wanted and the time and effort it took (to include many do-overs), the real cost rose to almost that of a good manufactured overhead by a reputable sim company. Seriously consider a pre-built overhead if you can afford it.
Asking for Punishment: Real Overhead – $?
You can always try to source real components for your overhead. These can be very hard to come by, especially for aircraft still in service, and when you do find them they can be in pretty bad shape. But occasionally you come across a gem if you watch the for sale forums, eBay, and aviation parts suppliers like a hawk. For this, though, it’s best to know someone on the inside who can hook you up.
If you’re shrewd, you there’s a good chance you can save money by buying real parts, though many suppliers jack the prices up knowing sim enthusiasts will pay more for even junk parts, so you have to know what the parts “should” cost so you don’t get ripped off.
Once you have the parts in hand you have to figure out how to convert them for simulator use. Simple panels and switches/knobs aren’t that hard. More complex devices (like an IRS unit) may require intimate knowledge of how they work to wire them correctly. It often requires disassembly and re-wiring for a sim which means you need a wiring diagram, and there’s always a lot of elbow grease to go this route.
Still, many opt to go down this path because honestly nothing is more real.
Final Note
A fully-built overhead is large, bulky and very HEAVY so make sure whatever frame you plan on mounting it in will accommodate and properly support the overhead. Also keep in mind shipping costs will be expensive so take that into account in your research.
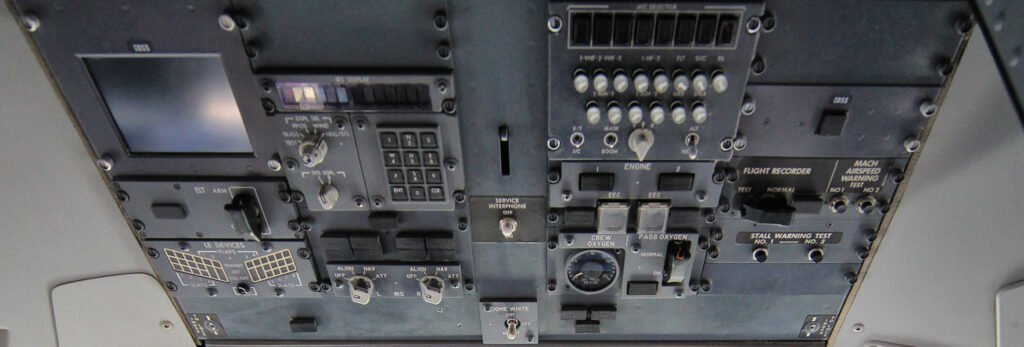
AFT Overhead
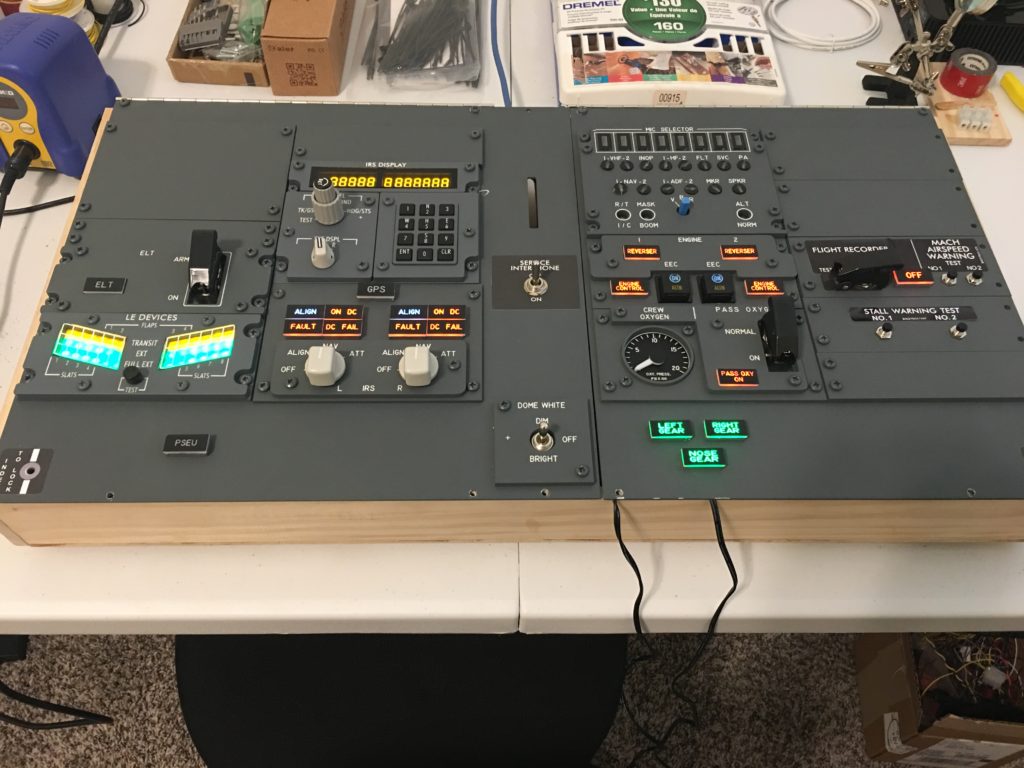
The AFT Overhead isn’t as important as the forward, but it does contain some useful components like the flap position indicator and IRS keypad/display. It’s also not as complicated to wire so the cost isn’t nearly as expensive as the Forward Overhead.
Low-Cost AFT Overhead
An AFT overhead is fairly simple being just a rectangular box. If you use printed panels, cheap switches and knobs, and an interface board you can probably replicate a lot of the AFT overhead for around plus or minus $500.
Moderate Cost: Some replica components added
If you want to add a functioning IRS Display panel, Leading Edge (LE) indicator and Audio Panel it’s going to bump the cost up quite a bit.
I ended up using components from Sismo Soluciones in Spain. They weren’t too bad for the cost, but the language barrier and time zone differences made it very difficult for me to get them working and I ended up doing a lot of the problem solving myself.
You’re looking at a price up to around $1.5K.
Expensive: Pre-Built or Fully Functional Overhead
A good home-built or pre-built AFT Overhead will cost you anywhere from $1.5-3K. This includes the IRS Display and keypad, LE DEVICES indicators, oxygen gauge, and all functional switches and lights.
The same manufacturers that make the FWD overhead also make good AFT overheads. These include Flightdeck Solutions, CPFlight, Simworld, OpenCockpits, etc.
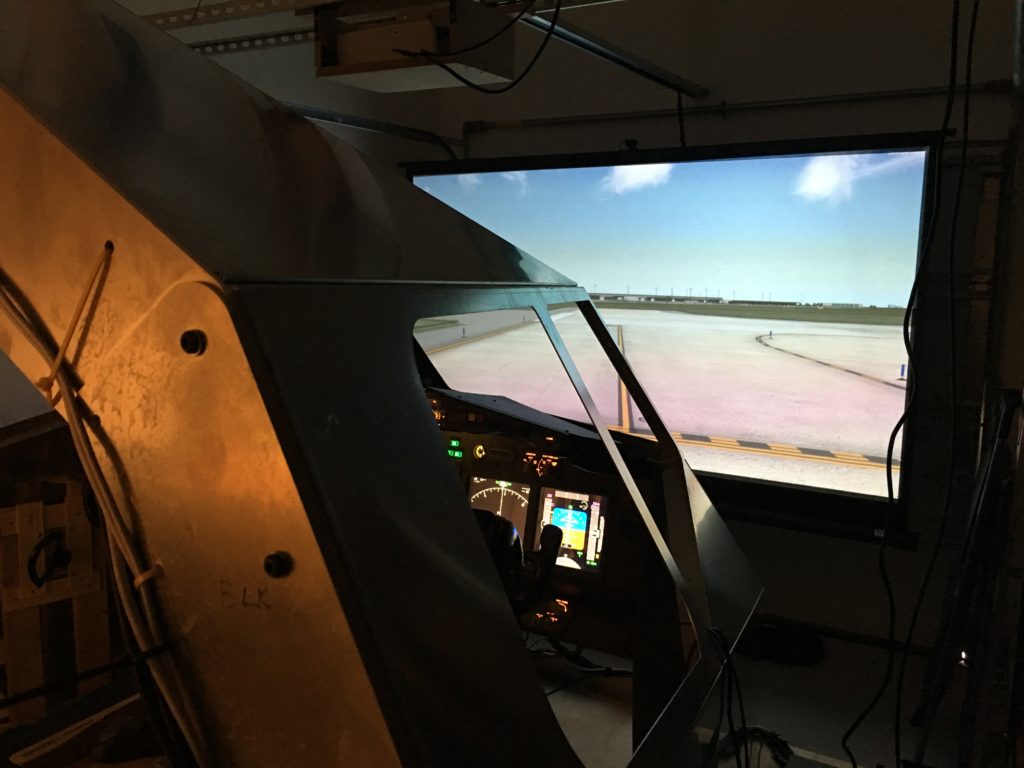
Cockpit Shell
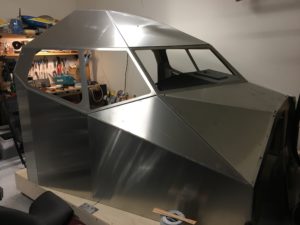
The cockpit shell is very important in my mind. It gives you a sense of realism that you are “sitting in” something verses just being in a room. It also gives you a place to mount major sections of the cockpit and ensure they sit in the right position.
I’ve seen some people build a simple tubular frame to position components where they should go. Others have built a completely accurate shell with ribs and all. I never had the time or patience to do that. If you go that route, you could do it relatively inexpensively but the time investment would be significant.
I chose to do it the easy way. I went the Flightdeck Solutions pre-fabricated cockpit shell kit for around $2300. It goes together with just screws and bolts, and sets up the interior mounting points perfectly. The outside looks like a Star Wars Darth Vader helmet, but you’re not flying from the outside so who cares.
Other companies sell shells made of metal or fiberglass ranging from $2500-5000 USD. If you buy a shell from a replica company you will likely want to use their interior components to ensure a best fit and minimal modification.
Fixed Base Simulator Platform / Full Motion Platform
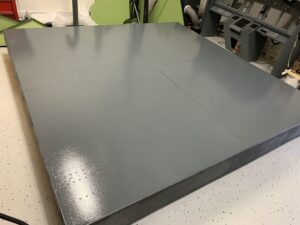
You need something to attach all this stuff to. You can build a simple base of just a couple of 4′ x 8′ pieces of plywood. Or, get more fancy and create a raised floor with room underneath for a dual linked yoke mechanism, wiring, etc. I created an 8’x8′ raised floor out of four square sections 4′ x4′ each. I then used 2’x6′ lumber, then added a plywood floor and put castor wheels on the bottom to roll it around. All told, I probably spent $200-300 for wood, screws and wheels. Not too bad. Just depends on how fancy you want to get.
Some replica simulator parts companies sell floors starting around a few thousand dollars, but usually they go with their matching cockpit shells. So make sure to ask if you choose to buy a manufactured floor/base.
Of course, you can go all out and buy a base complete with yokes and rudder pedals which can run you upwards of $10-13K USD.
Lastly, you can look at a full motion platform. There are 3-DOF or 3 Degrees of Freedom motion platforms which can pitch, roll, and heave. Then there are the more expensive 6-DOF or 6 Degrees of Freedom platforms that Full Flight Simulators use. These move in the pitch, roll, heave, sway, surge, and yaw axes. You can expect to shell out easily up to $50K+ for a 6-DOF platform when all is said and done.
As they say, all it takes is money!
Displays
Visuals are arguably one of, if not THE most important piece of a home-built simulator. What good is all that hard work above if you can’t see anything out the window? Sure, there are commercial training simulators that have no visuals. I flew a United 777 Fixed Base Trainer without visuals which was primarily just the Main Instrument Panel and throttles. For learning procedures it’s a great teaching tool. But what fun is that at home? You want eye candy!
Single or Multiple Monitors
When starting out you can use just one monitor, preferably a large one. Ideally, for a desktop sim I’d recommend at least 3 monitors and a powerful graphics card.
A single large monitor with a head tracking device like TrackIR is also a good option. Using head-tracking, wherever you turn your head the outside view will act as if you’re looking in that direction.
Single or Multiple TVs
Along those lines you can opt to go bigger, with large screen TVs being much more affordable these days. One, or even 3, can make a big difference in the feeling of being there.
If you go with 4K displays you’re going to need a very strong video card to get acceptable frame rates.
Projection Screen(s)
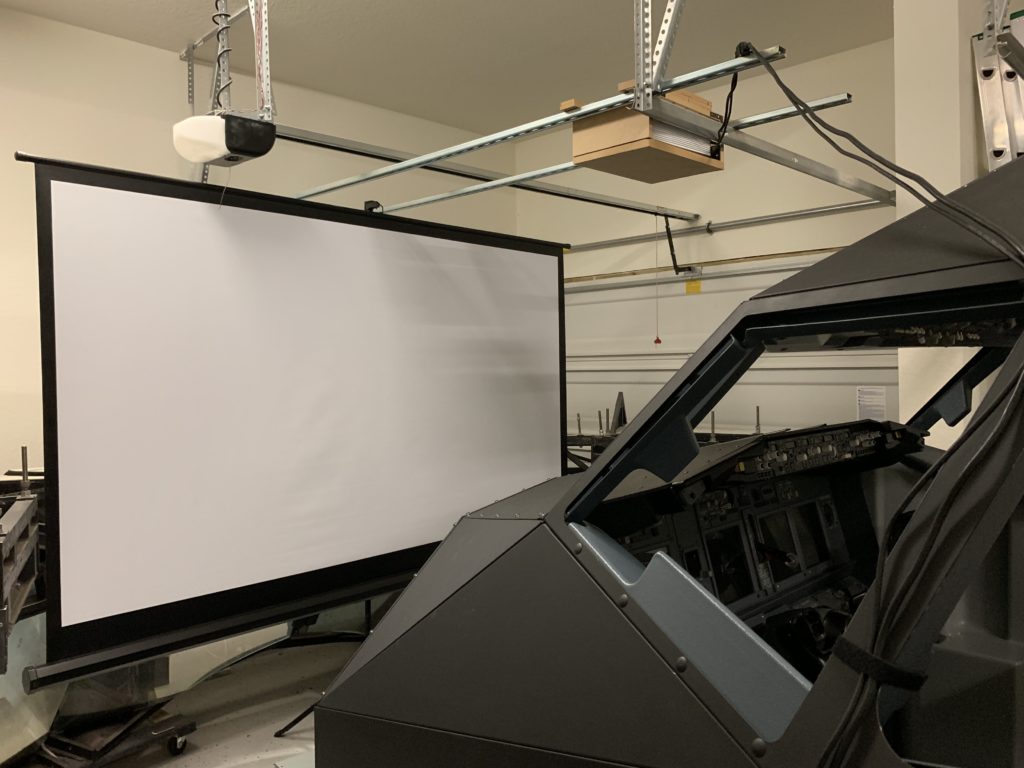
The next step is a projection screen. You can get just a simple front projection screen for less than $100 USD and buy a reasonably cheap projector to go with it.
Make sure to determine if you need short-throw or not. A short-throw projector allows you to place the projector much closer to the projection screen and still get a large image. This may be necessary if you are limited in space.
If you have the room and want to take that to the next level, you can go with a wraparound screen and three projectors. This is the route many hard-core simmers go because it’s an affordable way to get a wraparound view.
However, it can be a challenge to get configured properly because you need special software and calibration to account for the curved screen.
You also need to keep in mind there is a parallax effect with flat projection. The outside image will be correct for only one viewpoint and every other viewpoint will look skewed. In other words, when you look out the window from the captain’s seat everything looks correct. However, from the first officer’s seat there will be a skew to the image caused by parallax. It will appear as if everything is off-center. This isn’t a problem if you’re the only one normally flying the sim, but if you are “training” with another person it can present some challenges.
Collimated Displays
The parallax problem mentioned above can be corrected by the most expensive/complex displays called collimated displays. Collimated displays correct for the parallax effect by bending light into straight rays, and give a convincing illusion of distance/depth.
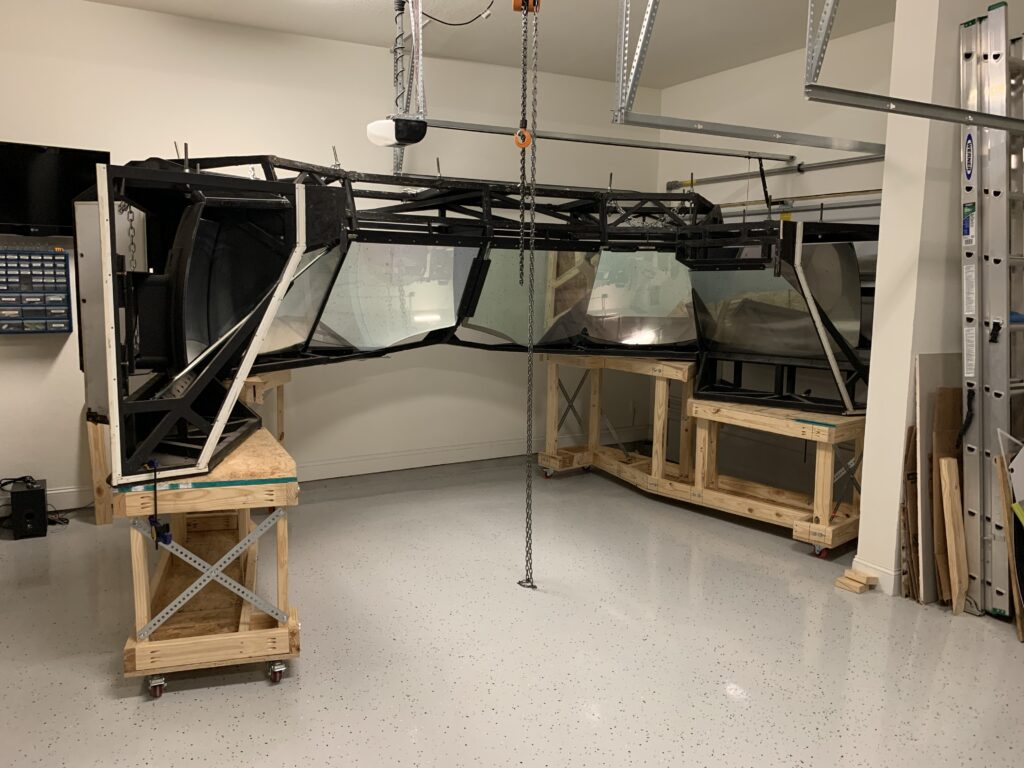
The cheapest and easiest collimators to find are single eye-point collimators. These were used in older Full Flight Simulators. Typically, there are separate mirror/glass sections for forward, 45 degree, and 90 degree views.
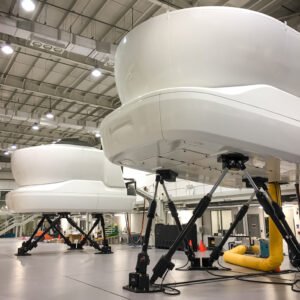
Today, however, Full Flight Simulators use cross-collimated displays which use complex mylar stretched mirrors stretched into a perfect mirror shape by a vacuum system. Every seat in the simulator has a perfectly correct view. The sense of being there is truly marvelous as I can attest to after having flown in one! These kinds of displays run into the millions of dollars!
Which method you choose depends, of course, on budget, how much work you want to put in, and availability.
Everything Else
Don’t forget you still other things you’ll need. For example:
- Seats – around $1500-2500 each for real seats if you can find them
- Simulator addons – airports, utilities, weather, etc
- Miscellaneous things – wire (lots of it!), USB cables, video cables, power strips, audio speakers, cable ties, tools, etc
- Space for your sim – some people have dedicated rooms for their sims, others use whatever space they can find
- Patience! It will take time, but be persistent and you will be rewarded!
If you’re overwhelmed (it’s easy to be)
My recommendation is start small. Buy the most important parts first. Like a good computer, a yoke and rudder pedals (essential), simple throttle, maybe a few monitors, a CDU to more easily/quickly program the flight system and later a MCP/EFIS. Then, start working toward the other pieces. It takes time. I’ve been doing this for 12 years+ and only in the last year am I starting to see it really coming together as a whole simulation system.
So if you start to feel overwhelmed, remember “Rome wasn’t built in a day”. Sometimes I’ll go months without doing anything. Sometimes a ton happens in a week. And sometimes I just get burned out or I feel like I’ll never finish. But these last days as things are starting to come together and I’m really starting to enjoy and appreciate what I’ve been able to accomplish!
I hope this helped.
Good luck!




15 comments
Skip to comment form
Thank you very informative, just starting off to build my own
Author
You’re very welcome. Best of luck to you!
Just a huge thank you for putting this site together. I am 53 looking to retire at 55 and have spent three years fantasying about a cockpit, I’ve read every web site and watched every video on Youtube.
I’m OK with electronics and PC’s so planning a realistic effect but at low cost. I’ve not told my wife how much this will cost. It’s more the fun of building and giving me something to get up for in the morning.
Thanks for all the advice, much appreciated.
Tony (Manchester, UK)
Author
You’re very welcome! Your comments mean a lot and help to keep me motivated! I haven’t really gone the low-cost route, mostly because I don’t want to spend a lot of time creating my own components from scratch unless I have to (e.g. something isn’t available that I need/want). But if you’ve got plenty of time and lots of desire to build/learn you can rival the best pre-built components often for a lot cheaper. Some of the scratch-built things I’ve seen are truly amazing. I wish you the best of luck! Make sure you also bookmark WilloW’s https://www.flaps2approach.com 737 site. His blog is a resource I constantly refer to (and he’s a super guy).
You never did give a total. What did YOU spend personally. That is a fantastic looking simulator cockpit and I imagine it cost you what a small single family home would cost in a well to do area. But you gave estimates. I am curious as to what you actually felt it was necessary to spend in order to satisfy the SIM Jones. Just curious.
Author
Thanks for the compliment Frank!
Actually, I kinda did mention that in my first paragraph above 😉 “The bottom line is that’s usually private so don’t ask, but it also really depends on how far you want to take it. The numbers can vary wildly.” In other words, it’s my business. That’s not meant to be rude or dismissive, but honestly what I spent is really a meaningless number anyway, because the true number is based on how far someone wants to take it. Hence why I provided ranges rather than a firm number.
Suffice it to say if you want to build a pretty-much fully functional sim like mine and you buy all the components rather than make them yourself, and you personally do all the labor putting it together, you’re going to be in the hole for upwards of $75K for something I feel would be quite nice. Make a bunch of stuff yourself, you can probably get that number down a bit, maybe $55-65K. But, often the money saved costs you in time, and isn’t as much as you’d think when you have to buy tools, learn new skills, lots of trial and error, etc.
Hope that helps answer your question a bit better.
I built mine 737 for about $35K over 7 years/ It’s at he state you can see in my blog http://elephantair737.blogspot.com/
I listed there a rough cost estimate breakdown for the costs of most parts (http://elephantair737.blogspot.com/p/project-overview.html)
Few things are still to be done, of course, and prices now are not the same as 10 years ago.
Author
Thanks for providing some specifics on your build! I’m sure that will provide some helpful information for others. Bottom line, what we have built “ain’t cheap!” but we both demonstrate it’s a very doable project if done over time (7 years in your case, 12+ in mine). Rome wasn’t built in a day!
After reviewing all the costs of cockpit, frames, components, monitors, software and computers it looks like the price will be in the neighborhood of $60,000-70,000+ (maybe the cost of your marriage. Oh well.
Author
In total, it could be, yes. Tough to swallow in one go. Not so bad if you break that out over 10-12 years like I did 😉
what sort of area would you need to start with for this project
Author
Hi Bill, the base of my 737 sim is roughly 8ft x 8ft. It’s a smaller jet compared to an A320, and certainly quite a bit smaller than a 777. So take that into account. Beyond that it depends on what you do for your visuals. If you want a wraparound projection screen then I’d add a minimum of 4ft to your base but that’s about as tight as you’d want to go. Personally I’d recommend adding 7ft minimum to your base, so for the 737 you’re talking a 15ft square room. If you’re using TVs as your displays, you can cut that back a bit since those will be up pretty close to the sim. Hope that helps.
Author
Running this through a language translator you asked (roughly): “I want to make a guess should have a budget of what.for 777 series 300 er”
Answer: I’m afraid I do not speak Malay nor do I have experience with 777 prices. Regardless, a full simulator installed by a company like FDS will easily run you over $100K USD installed. You can save money doing it yourself, but you would have to ask the companies that make B777 parts (I don’t know, offhand) how much the individual components will cost you. It’s a larger aircraft than the B737 so it will cost more, no doubt.
Jawapan: Saya takut saya tidak berbahasa Melayu dan saya juga tidak mempunyai pengalaman dengan harga 777. Walau apa pun, simulator penuh yang dipasang oleh syarikat seperti FDS akan dengan mudah menjalankan anda lebih dari $ 100K USD dipasang. Anda boleh menjimatkan wang melakukannya sendiri, tetapi anda perlu bertanya kepada syarikat-syarikat yang membuat bahagian B777 (saya tidak tahu, secara langsung) berapa banyak komponen individu yang akan dikenakan biaya kepada anda. Ia adalah pesawat yang lebih besar daripada B737 jadi ia akan lebih mahal, tidak syak lagi.
Hi, I have a pre-assembled home B737-800 cockpit I inherited from my father. However, the center pedestal is no longer working. The 2 radio displays just shows all 888888 for both active and standby, and no lights on the rest of the panel. Is there somewhere I can go to read up on how to make repairs, or someone I can ask for help to guide me how to repair this? I don’t have the thousands of dollars to replace this, and it’s such a waste to not explore repairing it if I can.
I can email you the picture of the pedestal if you are kind enough to have a look and advise. Thanks!
Author
Sorry for the long delay in response. Without knowing what hardware was used to make the pedestal or the avionics software being used to interface it, I don’t have a lot to go on and I’m afraid I don’t have much bandwidth to troubleshoot. That said, it sounds like they might be OEM radios. Do you know if they’re the real deal or simulated? If the real deal, it’s harder to troubleshoot because OEM hardware requires special ARINC boards/software to communicate with the avionics software (what are you using for avionics? ProSim?). Anyway, if they are real radios, try reaching out to CockpitConcept.de as they do a lot of work with real parts interfacing. If the radios are simulated, thenfind out who made the panels (should be on the panels somewhere, hopefully) and you might try reaching out to that company directly for support. Hopefully they are still around. If you’re using ProSim as your avionics software, they have a good forum with very helpful people who may be able to walk you through troubleshooting. Hope this helps a little.